I have a Browning X-Bolt 6.5 PRC and I purchased a X-Bolt Pro stock. I am scabbing together a rifle using the BA and the Pro stock. The stock was for heavy sporter barrel channel and this 6.5 is a standard sporter. I filled and fit the contour using an epoxy snytactic foam. I removed the factory bedding forward of the action to accomplish that. This added less than 6 grams to the original weight. Now that I have that completed, I removed the rest of the factory bedding and prepped the stock for epoxy bedding using Marine Tex.
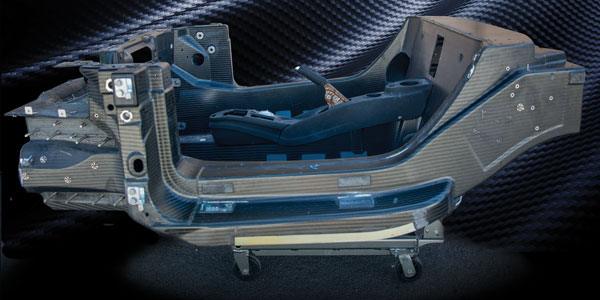
Blatantly stole this pick from @David_h to show the rear action screw hole is a 1/3 cutaway for the magazine clearance.

I have some custom made small diameter pillars, my question is, do I machine the clearance prior to installation or cut them away afterwards?
My original plan was to bed the action, then install pillars front and rear.
Thanks Darryle
Blatantly stole this pick from @David_h to show the rear action screw hole is a 1/3 cutaway for the magazine clearance.
I have some custom made small diameter pillars, my question is, do I machine the clearance prior to installation or cut them away afterwards?
My original plan was to bed the action, then install pillars front and rear.
Thanks Darryle