Derkster,
All excellent points by Mikecr. Did John polish out the sliding sleeve to fit a fire formed piece of brass for you or what? What neck turning tool are you using? It looks like you need a 40 degree cutter and you're using a 30 degree? There's a lot going on here like Mike points out.
OK Derkster, lets try this again. Had to reboot. ( computers are a tool of the devil)
Lets cover the neck turning issue. Forster makes tons of great tools. In my opinion though, their neck turning system is not. I would suggest getting these tools :
#749-011-592 Mod. 1500 neck turning tool kit in 7mm
# 749-002-083 cutter for 40 degree shoulder
Imperial die sizing wax
Ball -end (tubing) micrometer ( to accurately measure neck wall thickness)
Set of feeler gauges to set up the cutter depth
#749-011-843 Sinclair Gen 2 Expander die
Step one is to measure a sample group of cartridge cases at four or five points around the case mouth of each cartridge and find the AVERAGE neck wall thickness to turn the case neck thicknesses too if you are doing a "clean-up" cut around the case neck. You should be cutting 20-80% of the surface of the case neck. Leave the case neck as thick as you can. But make it as consistent as you can. A .001-.003 neck wall thickness variance is fine . NEVER turn a case neck wall thinner than .0095 in a non tight neck or factory chamber. Remember that the more material you take of the case neck. The more life you take out of the cartridge case due to over expansion of the case neck when its fired.
Step two is to expand the necks so the ID of the case neck fits the OD of the neck turning mandrel that goes into the cutting tool. Use Imperial die sizing wax on the expander mandrel for lube. DO NOT WIPE THE LUBE OUT OF THE CASE NECK AFTER THIS STEP. Be sure to set up the Expander die height in your press so the case neck makes a full pass over the expander mandrel but the cartridge case mouth does not bottom out in the die.
Step 3 is to turn the case neck. Since you now know the case neck wall thickness you want to turn to from step one. Use the feeler gauges to set up the cutter depth on the neck turning tool between the cutting point on the cutter and the neck turning mandrel. ( Read the instructions with the tool to find out how to use the fine adjustment screw on the top of the neck turning tool and everything else pertaining too the tool). You want to lube the mandrel with the die sizing wax and slowly screw the case onto the mandrel (with the base of the cartridge case in the tap handle) twords the cutter. Once the case mouth touches the cutting point keep screwing the neck through the cutter SLOWLY with a light forward pressure. What you want to see on the case neck are very small grooves like you see on phonograph records ( remember those
")
). Keep screwing the case down the mandrel until the angled portion of the cutter has made a cut about 1/16th to 1/8th inch long around the shoulder. DO NOT LET THE CUTTING POINT GRIND ON THE CASE NECK SHOULDER JUNCTION. DO NOT pull the cartridge case out of the tool at this point. With a slight pulling pressure screw the case neck through the cutter to turn the case neck as you are coming off the mandrel. Again, record grooves is what you want to see on the case neck. Don't worry about the grooves. They will disappear the first time you fire the cartridge. Wipe the neck lube out of the case neck with a twisted piece of paper towel. A little lube in the case neck will not hurt a thing. In fact it may help in your case. I suggest you turn your case necks when the brass is new and unfired for the best results. If you are neck turning for a "tight neck" chamber. you will have to probably make two cuts to get to the neck wall thickness you need.
Before you neck turn though. Ask yourself : how much neck wall thickness variance do I have here. is it over .003? Does that make a difference to me? Will it make a difference on the target? Should I get a group of cases with an average of .003-.005 neck wall thickness variances and test them on a target to see what the effect is at the range(s) I may be shooting out to? How much will NOT turning these cartridge necks effect my "comfort zone" mentally.
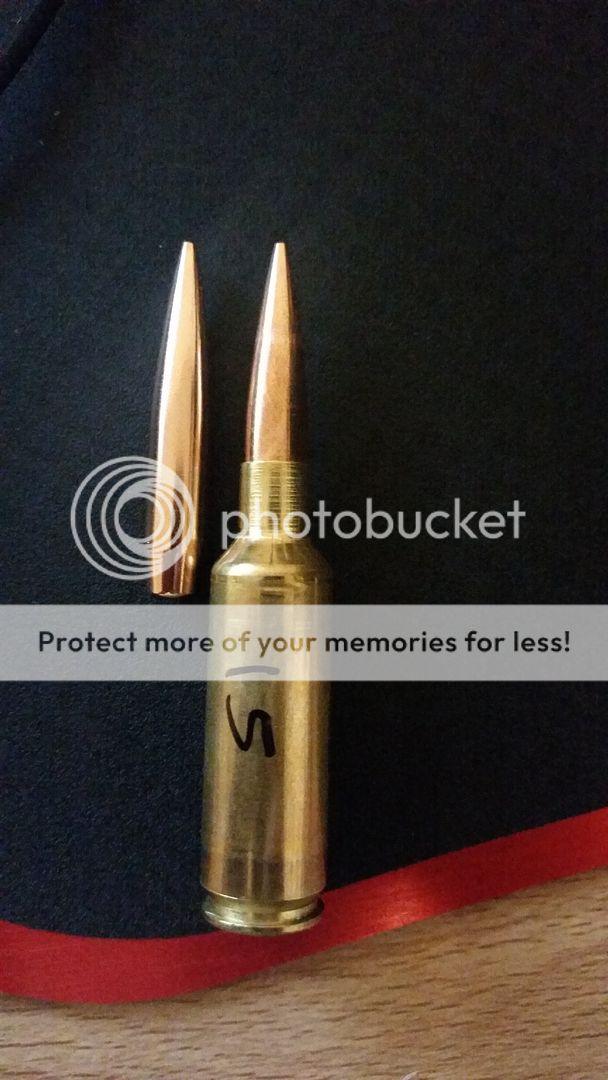
Ask John about the mark on the bullet and pick his brain a little. Hes a wealth of experience and knowledge. Call him, ask him if he has some time or when a good time would be to call back if hes busy. Listen to what he says, don't be formulating another question while he is answering. We sometime have a bad habit of doing this and don't hear through the noise. And keep an open mind.
It works for me.[/QUOTE]
Thank ya. Ill try that and get it ordered. Those groves in the neck did kind of come out after firing, but not like I wanted.
My variance is not much. I used a ball micrometer at the shop to check them and they seemed to be very close. I took everything to .0135.