J E Custom
Well-Known Member
You may want to change those Celcius to Fahrenheit, 750°C is just shy of 1400°F and plenty able to ruin brass cartridge cases for their intended purpose.
I did. Thanks

J E CUSTOM
You may want to change those Celcius to Fahrenheit, 750°C is just shy of 1400°F and plenty able to ruin brass cartridge cases for their intended purpose.
By "dip annealing" do you mean salt bath annealing?Dip annealing is the best.
It's also relatively cheap & Impossible to screw up.
You set the correct temperature as measured and read on a meter, dip the cases, done.
No worries about timing,, it don't matter with dip annealing, because you're applying the heat both inside and outside of thin cases. And since at the correct temp, which is sufficient and yet below full anneal, you could leave a case at dip all day long without causing full anneal (ruining cases).
No way to get it wrong, nor to do it inconsistently.
J E CUSTOM,
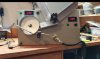
Adjusting the flame length and color is very important and part of the set up that needs attention.
Also in building my own machine, I discovered that the small propane bottles normally used, loose vapor pressure and that changes the flame intensity/temperature, and had to go to a 20 pound tank to get a consistent flame temperature. (Needed when using an automatic machine).
When doing annealing by hand, it is not that important because you can adjust the heat input by time and distance. I used to do all of my annealing by hand, but wanted the most consistency so I decided to make the annealer where time and temperature would be consistent. Don;t know if it effects accuracy but I knew it couldn't hurt.
Since doing annealing this way, I haven't lost/ruined a single piece of brass and bullet tension has been very consistent.
To me time is not as important as quality in anything i do for accuracy and if i can eliminate the human error/factor, I will.
J E CUSTOM
Salt or lead. I've lead dipped for decades, but I can see that salt is easier to work with.By "dip annealing" do you mean salt bath annealing?
J E CUSTOM,
Just curious, did you use one of the sets of drawings and recommended parts out there or design and build your own? Is is a Cake pan based system? I'm in the process of gathering parts for one to build myself now. One thing I did not consider was the significant metal sheet cost.
This video satisfied my curiosity of the process of Hot Salt Annealing. I kinda like it as there is no bare flame . My thinking is to mount it on a work top of fire brick, but I would also do that with a torch type annealer.Dip/salt bath annealing can work, but there is a lot of misinformation out there on it.
The "dip" is a heat source. How long do you need to dip? That has to be set, otherwise the heat transferred and the temperature of the brass is unknown. With AMP, we're paying someone to do the heat transfer math. With flames, we are measuring brass temp on the inside. With the "dip", I only see people guessing. How do you know you got a full anneal?
Are one of you guys modeling and telling us the recommended dip time?
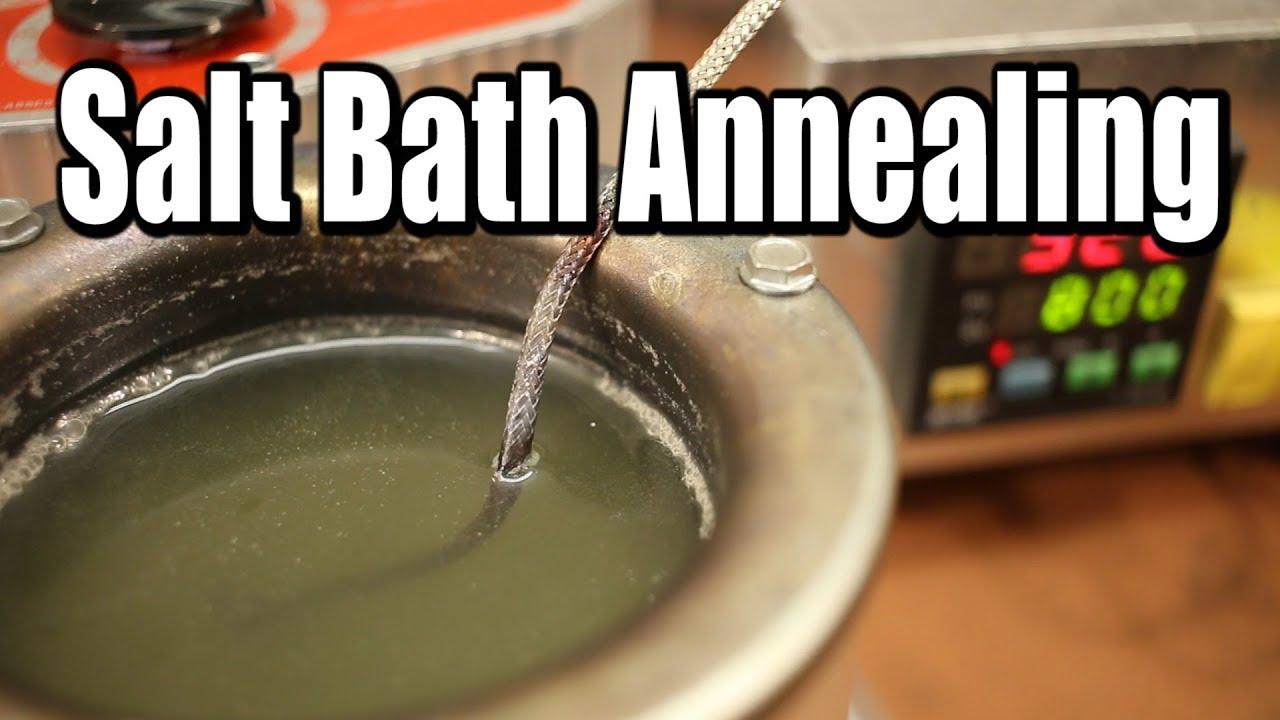
I started watching, the realized it was a 39 min video....any chance you can share how he explains his controls on the variables of heat transfer?This video satisfied my curiosity of the process of Hot Salt Annealing. I kinda like it as there is no bare flame . My thinking is to mount it on a work top of fire brick, but I would also do that with a torch type annealer.
(hope this is allowed and doesn't step on any toes.)Salt Bath Annealing - The Reloaders Network
A look at Salt Bath Annealing with equipment from Ballistic Recreations.thereloadersnetwork.com
The heat, which the brass goes to immediately, is EXACTLY the temperature of the bath. Process annealing occurs within a second or two, and any holding at the correct temperature longer means nothing good or bad.The "dip" is a heat source. How long do you need to dip? That has to be set, otherwise the heat transferred and the temperature of the brass is unknown.
I started watching, the realized it was a 39 min video....any chance you can share how he explains his controls on the variables of heat transfer?
LOLI started watching, the realized it was a 39 min video....any chance you can share how he explains his controls on the variables of heat transfer?