Homemade reloading benchtop material?

Go to a re-cycle center that has used doors. Find a solid
core door, put the door knob hole up against the wall. That way all your cords can go through that hole. Usually the finish
is very durable. I have two that I have cut down to fit my
space both are 1 3/4 inch thick-rock solid.
 
The time has come and the wife has green lit my reloading bench project for the new house. Was walking through Lowes today looking at material and got to wondering what you all are using as a bench top?

My only friend who reloads swears I need a thick butchers block top to handle the torque of my progressive presses while reloading and states that plywood will bend, warp, and compress while running the presses.

I've seen a lot of reloading benches posted here and I can't recall seeing a single one with butchers-block bench top. What reinforcement (if any) are you using for your presses on your reloading benches to prevent the top from flexing while running your presses?

Quick Google showed this. Seems nice a sturdy - just supply the wood

https://www.kotulas.com/deals/Produ...MI-InlpJrb5gIVjYCfCh3C2QM_EAYYASABEgJvJPD_BwE
 
Built a bench and cabinet in 1993 from the National Reloading Manufacturers Association plans (http://accurateshooter.net/Blog/benchnrma.pdf)
Note how the ply top is supported along the front...all my sizing presses are mounted to this t-section and nothing moves. Also, for those short on space with too many cartridges to load :) consider mounting to a 2x4 a handful of cheap Lee single stage presses to hold universal decapper, mandrel dies and even seating dies. The 2x4 can be c clamped to the side when needed and hung on the wall when not needed.
 
After considering building the whole thing I bought one of these with the maple top: https://www.uline.com/BL_3853/Industrial-Packing-Tables?keywords=Bench
The wood is softer than I expected, but overall I'm pleased with it. It's a mess in this pic, but you can see that I went with the rear verticals with the overhead LED lighting option (HIGHLY recommended) and the (steel) pegboard. I wish that I'd bought it longer, but that is all of the room that I had available. Re-purposed file cabinet holds components etc. I played around a bit with making my own qwik-change press mounting, but decided it wasn't worth my time & bought the Inline Fab assembly.

i-fKHCmTv-M.jpg
 
The big box stores will sell laminate countertops in select colors and in lengths starting at roughly 10' and on 2' increments upward. And they are pretty cheap. Buy one of the proper length, I'd recommend a light colored one as many reloading parts are small and light is a huge factor in a reloading room. Then get yourself a piece of 3/4" plywood and a tube of PL200 construction adhesive in a tube. Cut the plywood to match the bottom of the countertop. Glue AND screw it to the bottom of the countertop. I made a base frame to support the bench out of 2x6. Anchored it to studs in the wall.

This process has served me well for several homes. I run a progressive and single stage. They always hold up.
 
I purchased a 60in 4 drawer hardwood workbench from Harbor Freight. Plugged the holes and sealed the wood plugs with varnish. And have 4 drawers to put small reloading parts in. Build a 'reloading stand' on top of the desk corner so I can easily remove the reloading presses (I have 3) to open one top drawer. Cheap, easy way.
 

Attachments

  • ScreenHunter_381 Dec. 29 08.02.jpg
    ScreenHunter_381 Dec. 29 08.02.jpg
    76.6 KB · Views: 93
For the top, I used two 3/4" thick plywood pieces. It is also braced underneath. Lag-bolted frame with 4x4 legs, 2x4 around the edges. Braced up against a wall as well. I built it so it does NOT move.
IMG_2516.JPG
Under construction. Shows top before edging applied.
 
I have the same Harbor Freight work bench that Afrikaboom wrote about. Didn't worry about plugging the holes, but did put a cross brace in back so it is steadier. I figured the press would not remain steady with bolts into the top, so put a 4" X 6" piece of 1/4" steel under the press, drilled and bolted through that. Very stable.

I've used that same steel plate under the table trick on a number of benches over the years. It works on just about any kind of bench top.
 
Bowling alley makes great benches. I found someone recycling them into shuffle boards which are narrower & were selling q8" wide pcs cheap. Bowling alleys are maple in the front & change to pine down the alley. I'd get the maple.
 
Five pages of "I like to screw 2x4s together and slap plywood onto that."

There are other very important things to consider whether building or buying benches.

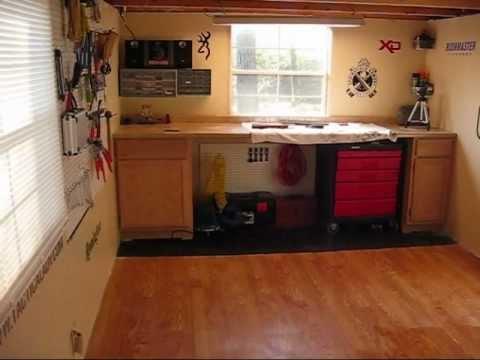
- Standing workbenches need toe space at the floor level of the bench. Kitchen or bathroom cabinets come designed this way from the factory.

vdmCPApHdIjTBBOaWxAmgqFvJ6HeHBDVqX3EJQ9gVIo.jpg


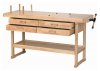
- Sitting benches require that the top overhang the support structure, simply from the standpoint that you have a place for your knees to go when sitting without straining your back leaning over to reach the bench. This overhang can be reinforced properly to avoid flexing.

- Lighting is imperative and should have more consideration than just a couple of fluorescent fixtures hanging from the ceiling.
Use under cabinet lighting if you use over bench cabinets.
Use some type of lighting in your under bench cabinets such as smaller LED fluorescent fixtures or those strands of tiny LED bulbs. I use pressure switches in the doors to prevent these lights from being on all the time you're working.
Directional lighting to prevent and banish shadows from all the down lights and where you need readable light especially in corners.

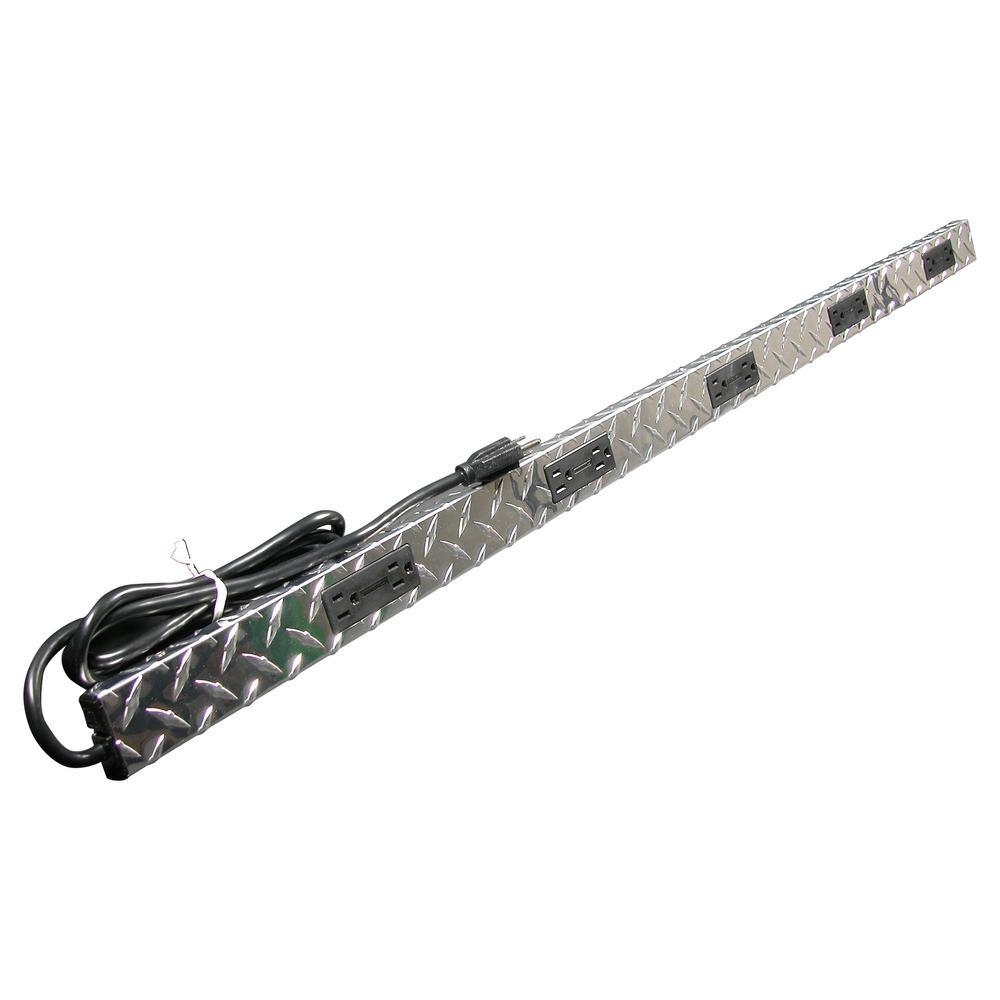
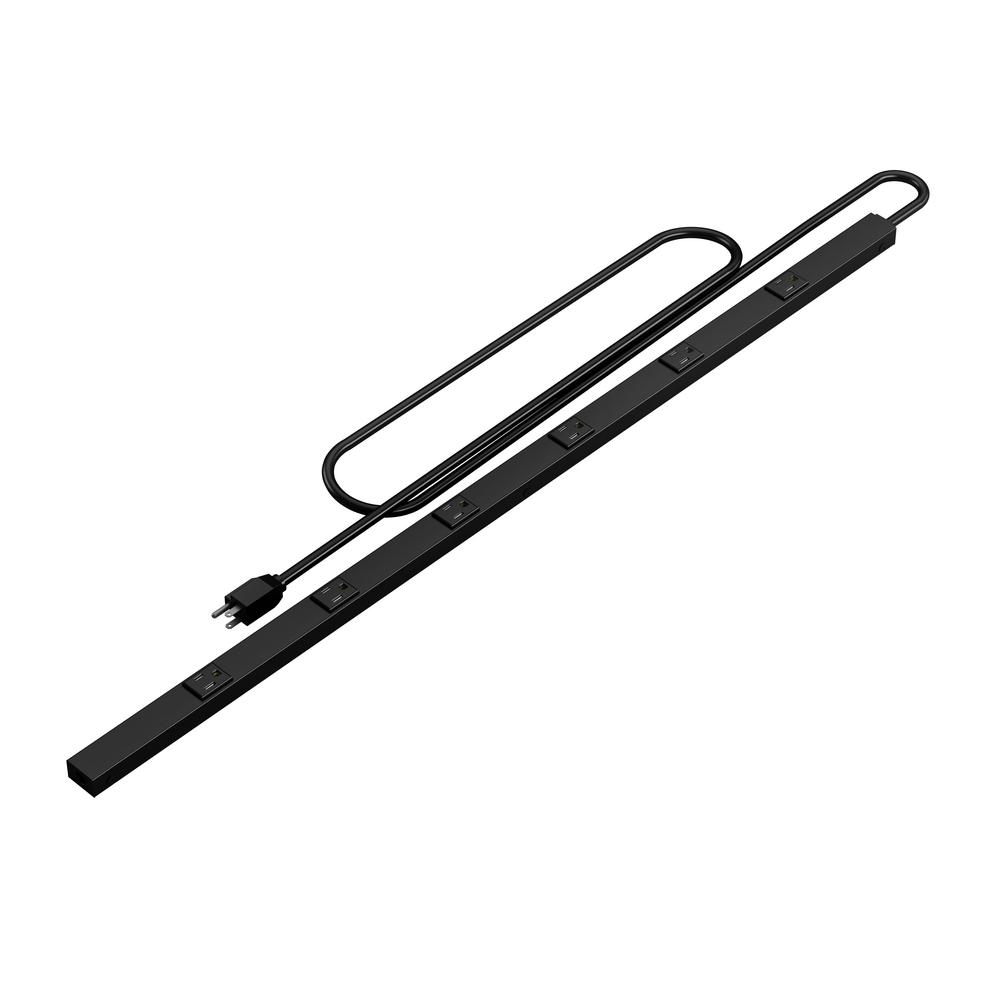
- Plan for and install more electrical than you think you need. This is more crucial nowadays than ever before with all the electronic/digital equipment we think we have to have. There is nothing worse to deal with than extension cords or those multi-plugs on the floor. Don't forget computers, TV, electronic scales, etc, etc, etc. Make a list of all the electronics needing a plug and where these will be positioned. Longer strips of multi-plugs screwed to the wall under the work surface can be handy.

legrand-wiremold-power-strips-pm48tc-64_1000.jpg


black-legrand-power-strips-pm36cbk-64_1000.jpg


- Think ahead for wire management, where will all those cords go? Under the bench using zip ties for bundles or wire staples for random pathways. This keeps your bench clear for the work meant to done not cords in the way.

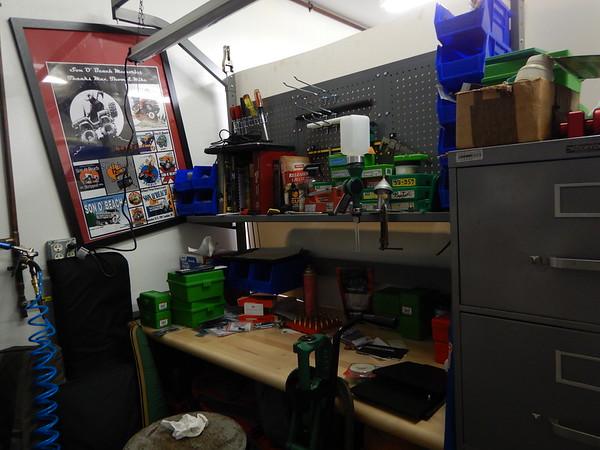
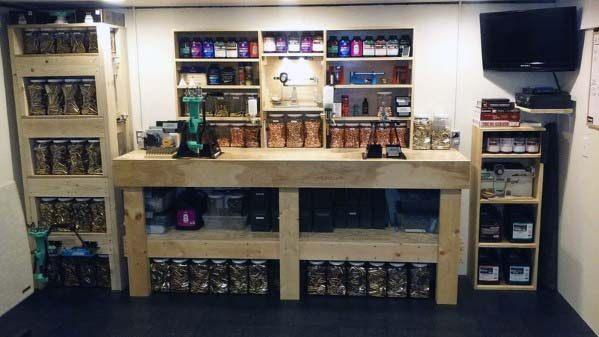
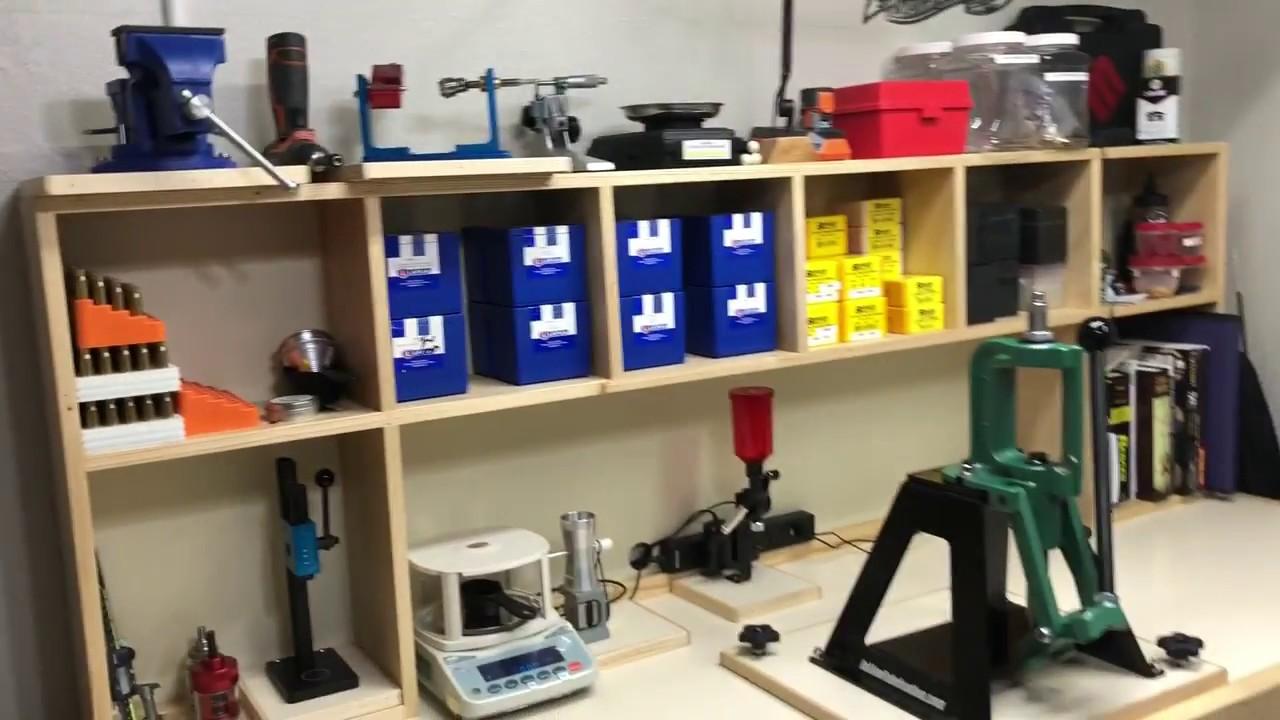
- Over bench cabinets should be narrow in depth so you can see what you have not shuffle other stuff out of the way to find what you need.

cool-wood-bench-reloading-room-ideas.jpg


maxresdefault.jpg


attachment.php

Bottom cabinets with that much depth become catchalls for the stuff we'll never remember we have and can't find when we need it. Use bleacher-type shelves that are higher in the back, tiered, work wonders when you light the cabinet also.

rimg.php

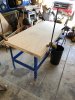
(no toes space here, really stupid...)

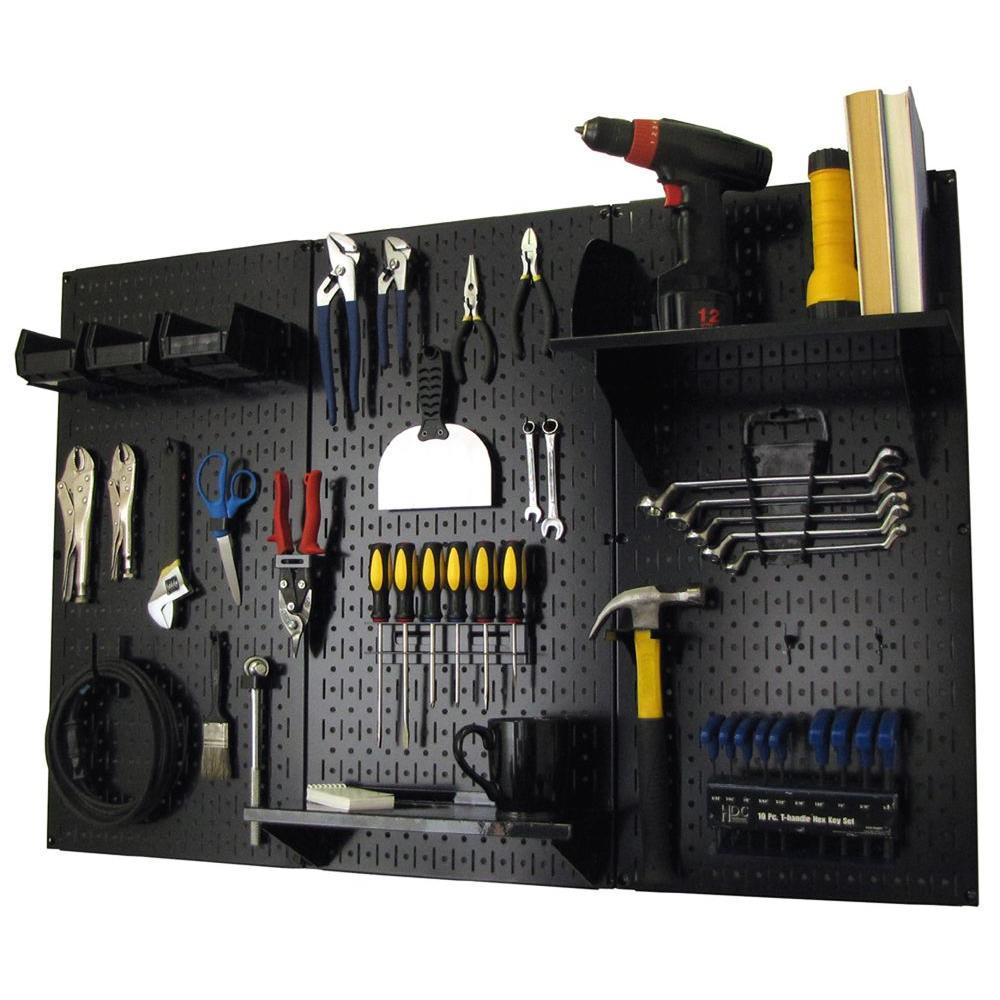
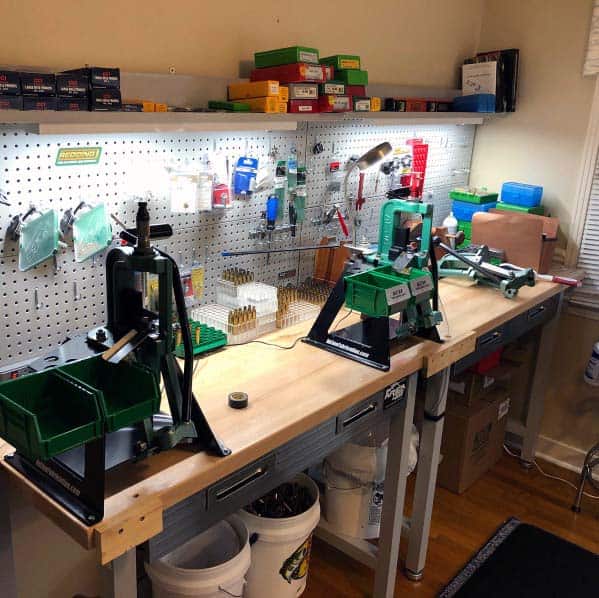
- Pegboard is one of the wonders of the world for staying organized and being able to find that tool you need when you need it! Cabinet drawers become more catchall space that you have to dig through.

black-pegboard-with-black-accessories-wall-control-pegboards-30wrk400bb-64_1000.jpg

This is just an example of accessories available for pegboard besides hangers for tools.

- Rolling cabinets can be stashed under a work surface when not needed but pulled out for more table top work space.

hqdefault.jpg


For those who want to get a good bench with pegboard and drawers complete:

home-interior-designs-reloading-bench.jpg


Seville HD for about $160.00/each. Lighted with two drawers. I have used these in a very condensed shop space with great success. Tools can hang or put into drawers for some dust prevention.

So rather than just making that trip to the lumber yard for 2x4s, spend a couple of hours really thinking about how you work and what it takes to make that work easier.

Enjoy!
 
Last edited:
Built a bench and cabinet in 1993 from the National Reloading Manufacturers Association plans (http://accurateshooter.net/Blog/benchnrma.pdf)
Note how the ply top is supported along the front...all my sizing presses are mounted to this t-section and nothing moves. Also, for those short on space with too many cartridges to load :) consider mounting to a 2x4 a handful of cheap Lee single stage presses to hold universal decapper, mandrel dies and even seating dies. The 2x4 can be c clamped to the side when needed and hung on the wall when not needed.
Built
 
Built a bench and cabinet in 1993 from the National Reloading Manufacturers Association plans (http://accurateshooter.net/Blog/benchnrma.pdf)
Note how the ply top is supported along the front...all my sizing presses are mounted to this t-section and nothing moves. Also, for those short on space with too many cartridges to load :) consider mounting to a 2x4 a handful of cheap Lee single stage presses to hold universal decapper, mandrel dies and even seating dies. The 2x4 can be c clamped to the side when needed and hung on the wall when not needed.
I built this same bench in the 80's and it's held up fine. As a bonus, it bolts together and can be disassembled and reassembled wherever you like. The edge assembly also works well on a bench used with a stout vise.
 
I like some overhang on my bench. The last couple I've built with a layer of 3/4" plywood, then a frame of 2"x 4"s with a 2"x12" across the front where the presses are bolted. Rimmed the face with 1"x4" red oak, then another layer of 3/4" plywood. Then formica on top.
This last one I tried 'KREG' legs for a cleaner look. They are also set up to be boxed in for storage underneath.
 

Attachments

  • IMG_2658.jpg
    IMG_2658.jpg
    2.2 MB · Views: 169
  • IMG_2659.jpg
    IMG_2659.jpg
    2.5 MB · Views: 111
  • IMG_2662.jpg
    IMG_2662.jpg
    2 MB · Views: 110
  • IMG_2671.jpg
    IMG_2671.jpg
    2.1 MB · Views: 122
Warning! This thread is more than 5 years ago old.
It's likely that no further discussion is required, in which case we recommend starting a new thread. If however you feel your response is required you can still do so.
Top