PILLAR BEDDING THE WEATHERBY VANGUARD .243
THE STRESS FREE METHOD
So, I thought I'd share with you my method for stress free bedding the Weatherby vanguard. I bought this rifle as a dual purpose varmint/deer rifle that I could also use for informal long range target shooting (mainly for hunting practice).
Prior to doing anything to the rifle I had tested its accuracy at the range with different factory ammo. It seemed to like Hornadys Superformance ammo best shooting the 95gr SST's at just over 2'' at 200yds. It was a windy day and the horizontal spread was where groups really opened up. The rest of the factory ammo grouped around 1 ½'' at 100yds, (as Weatherby rifles should!).
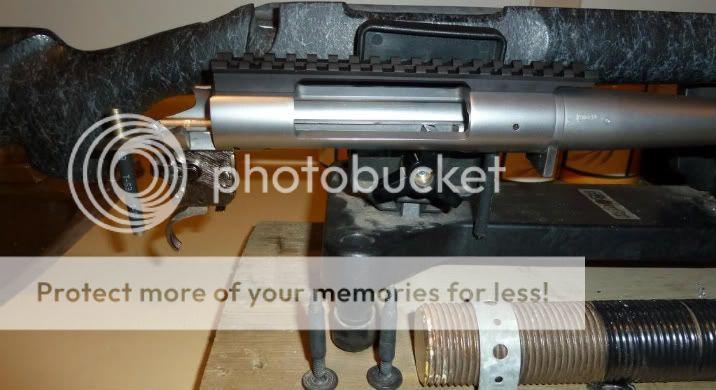
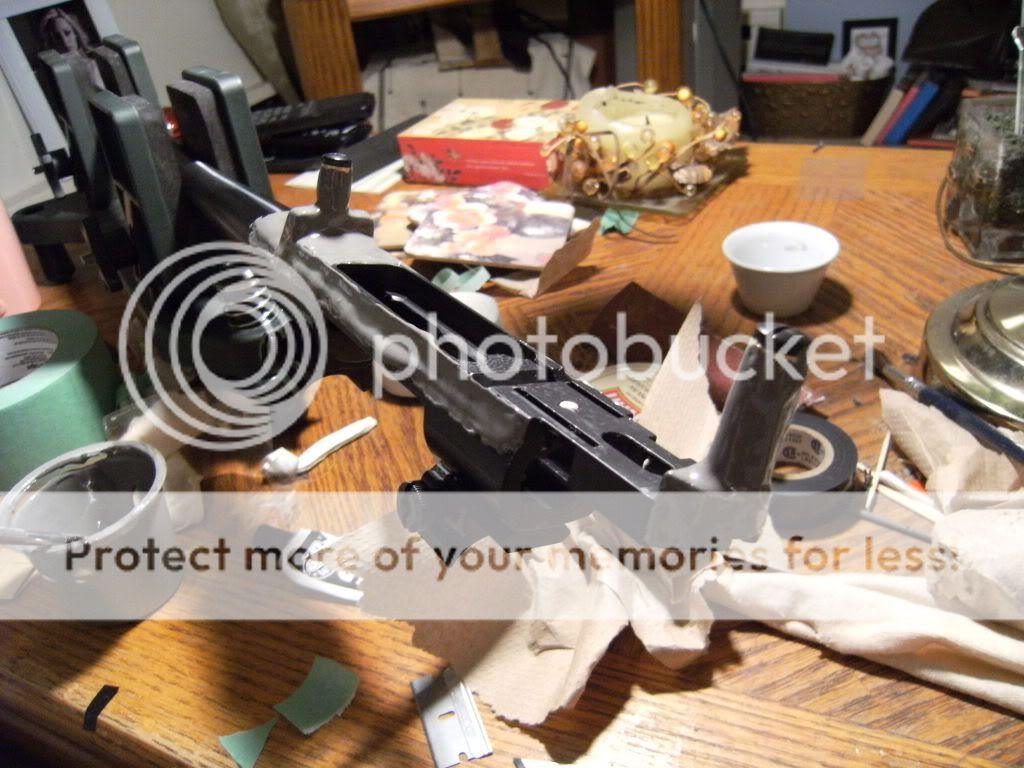
So…here's the rifle sans bedding with the original plastic stock (I believe made by 'Uncle Mikes').

After the Boyds pepper laminate stock arrived, initial inspections showed it to be very well constructed and much better than I anticipated, the action dropped in like a glove and it feels very solid.
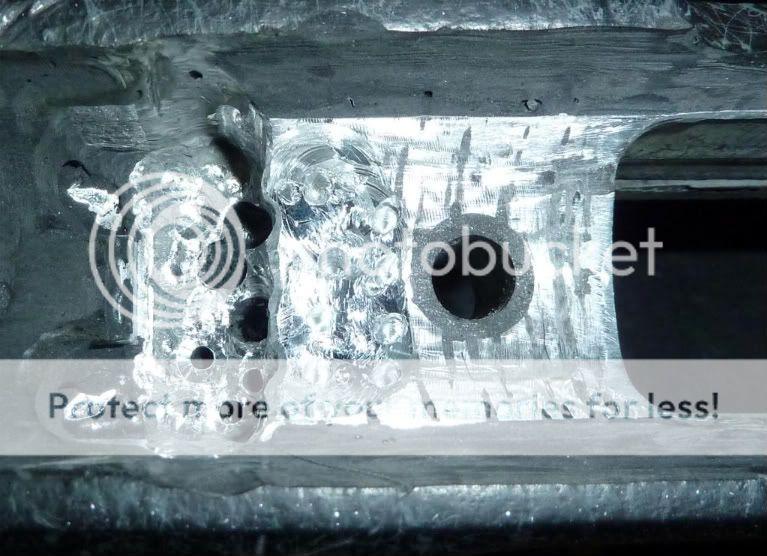
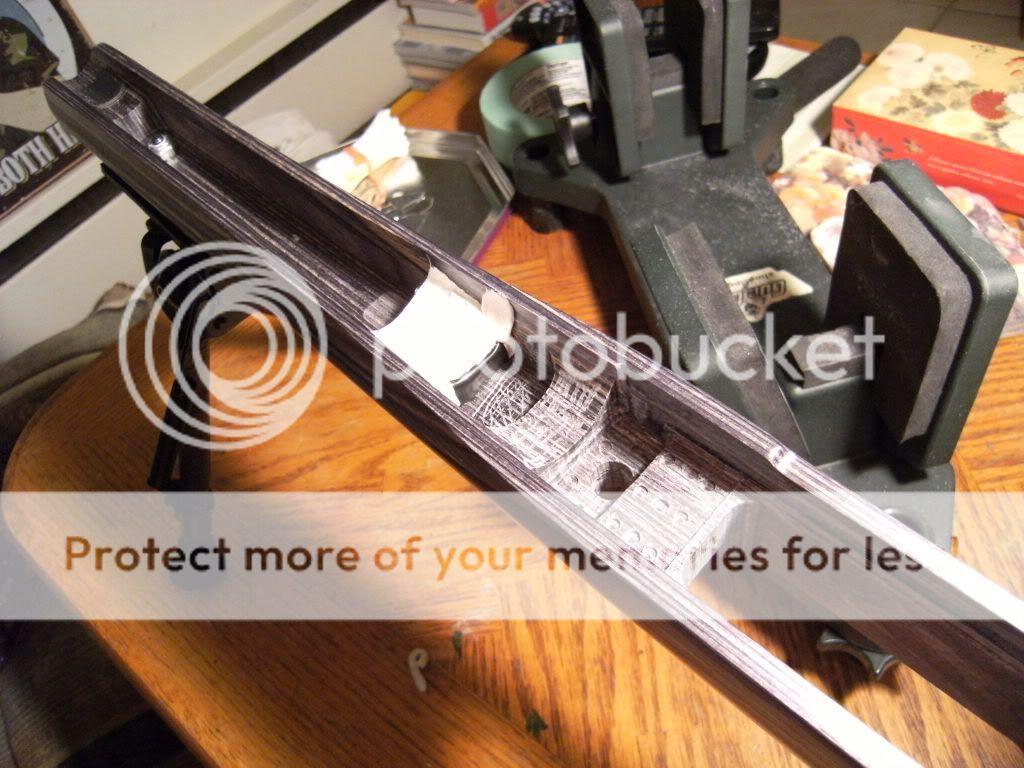
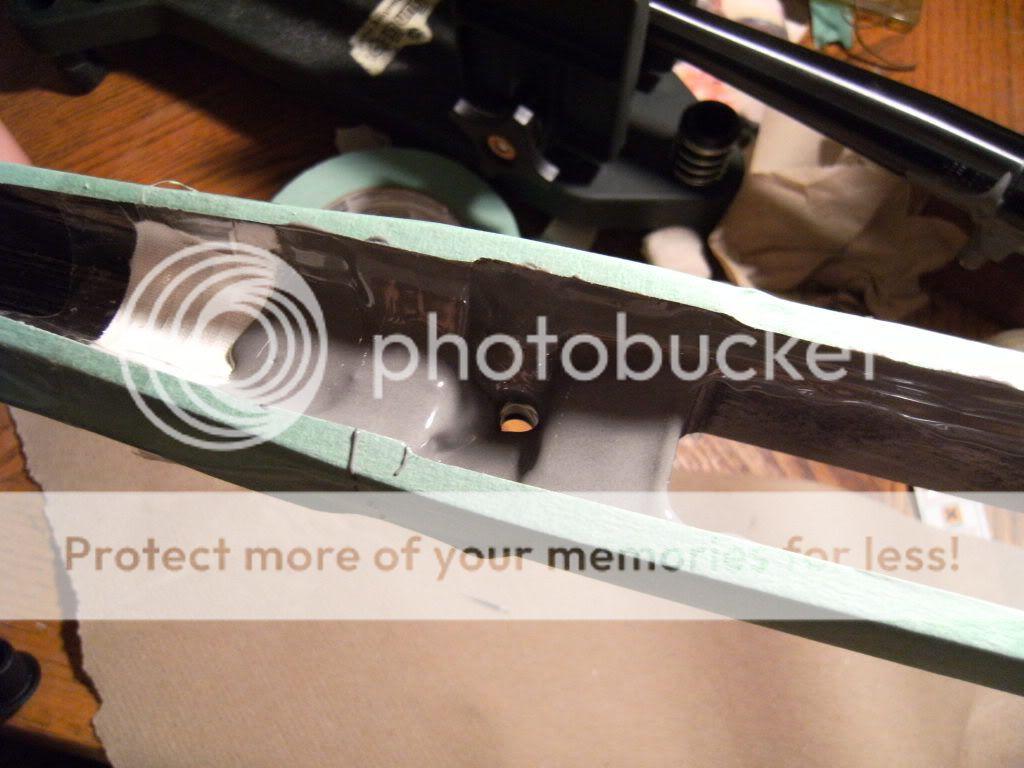
In the picture you can see the recoil lug recess, I have used marker pen to highlight areas to be relieved.
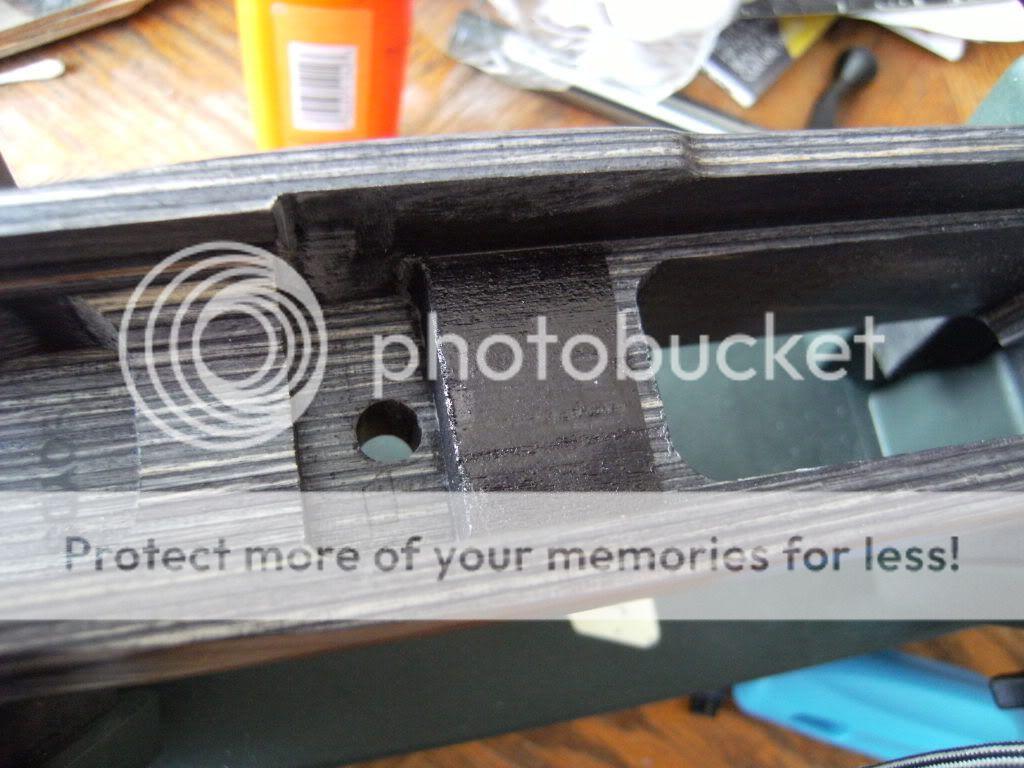
Using a ¼'' chisel I have removed about 1/16th – 1/8th to allow adequate thickness of bedding compound under the action, I also removed just over 1/8th of stock material from behind the recoil lug for the same reason.

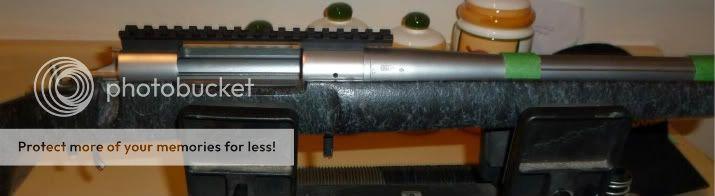
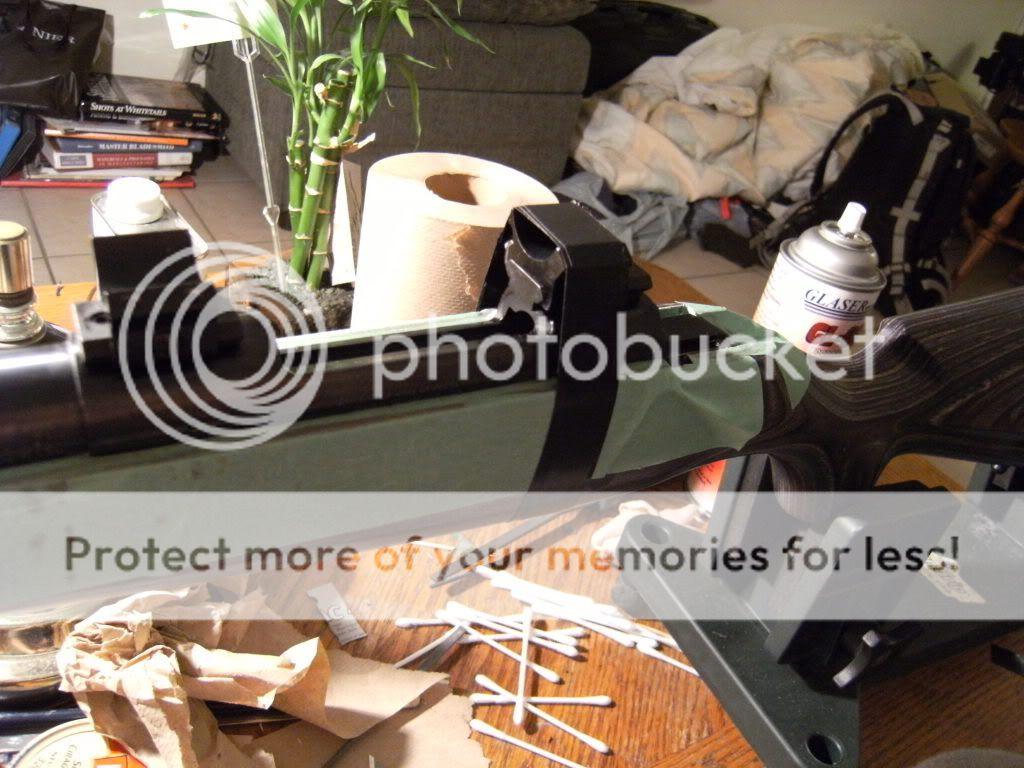
After that I set to work centering the barrel in the fore end of the stock, this was achieved by wrapping layers of electrical tape around the barrel until it fits snug in the channel. Use equal layers of tape each side, start at the top and finish at the top.
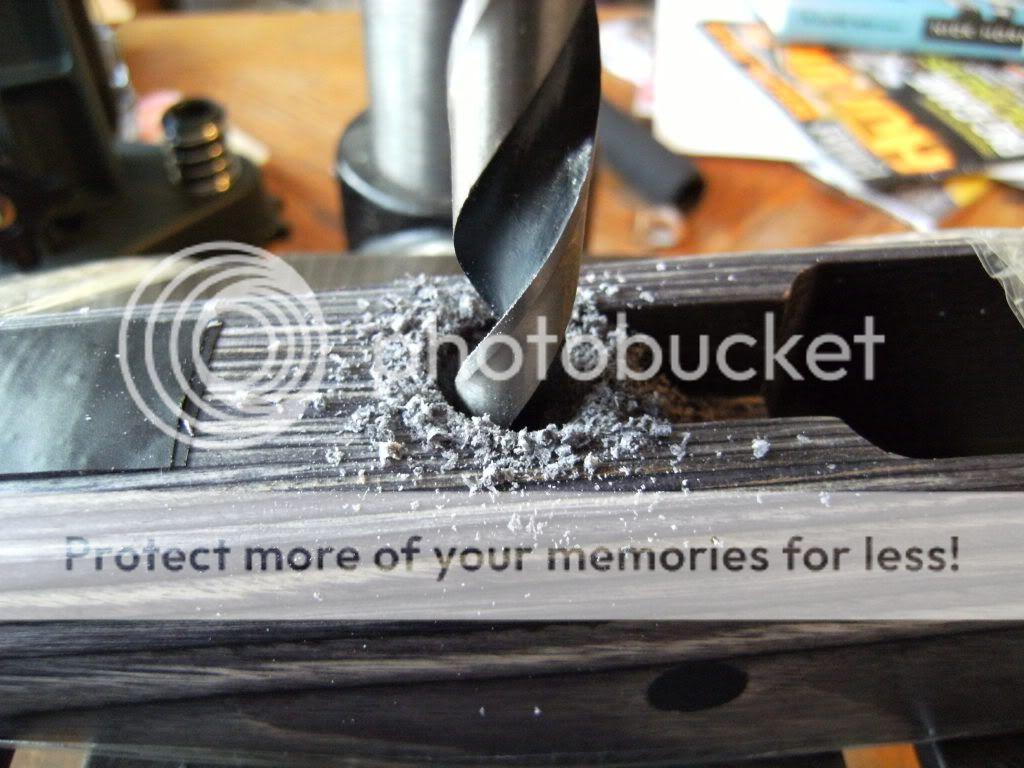
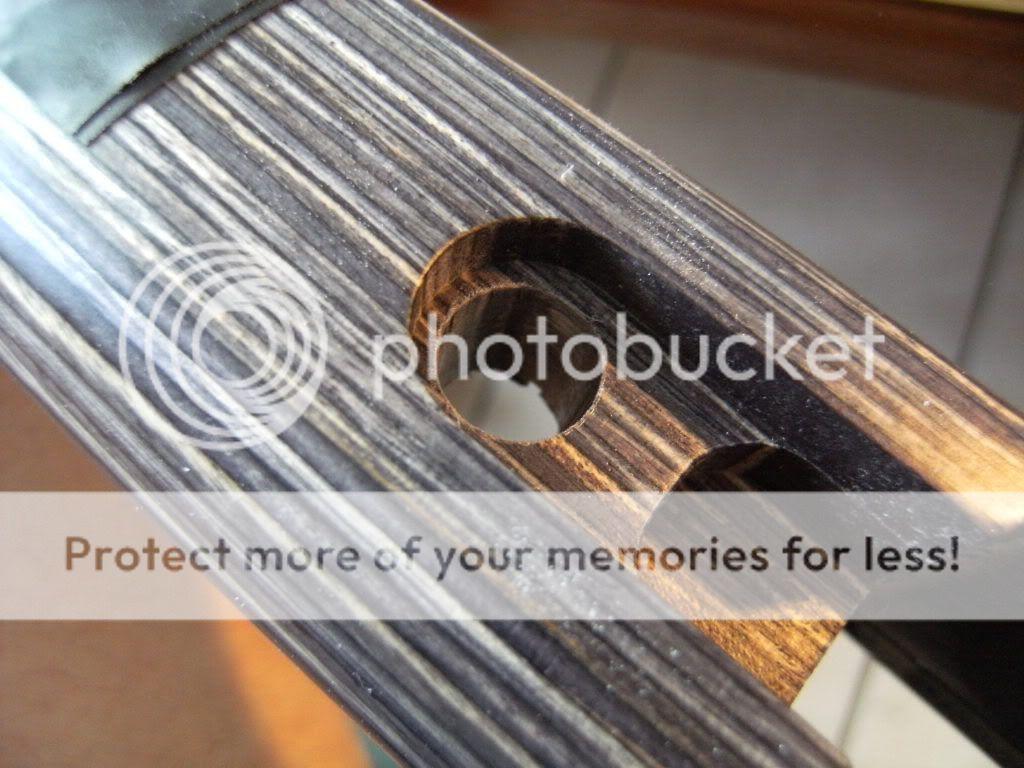
Now we're ready to relieve the action screw holes in the stock to allow the pillars to fit, for this I am using a drill press borrowed from a friend.
After…
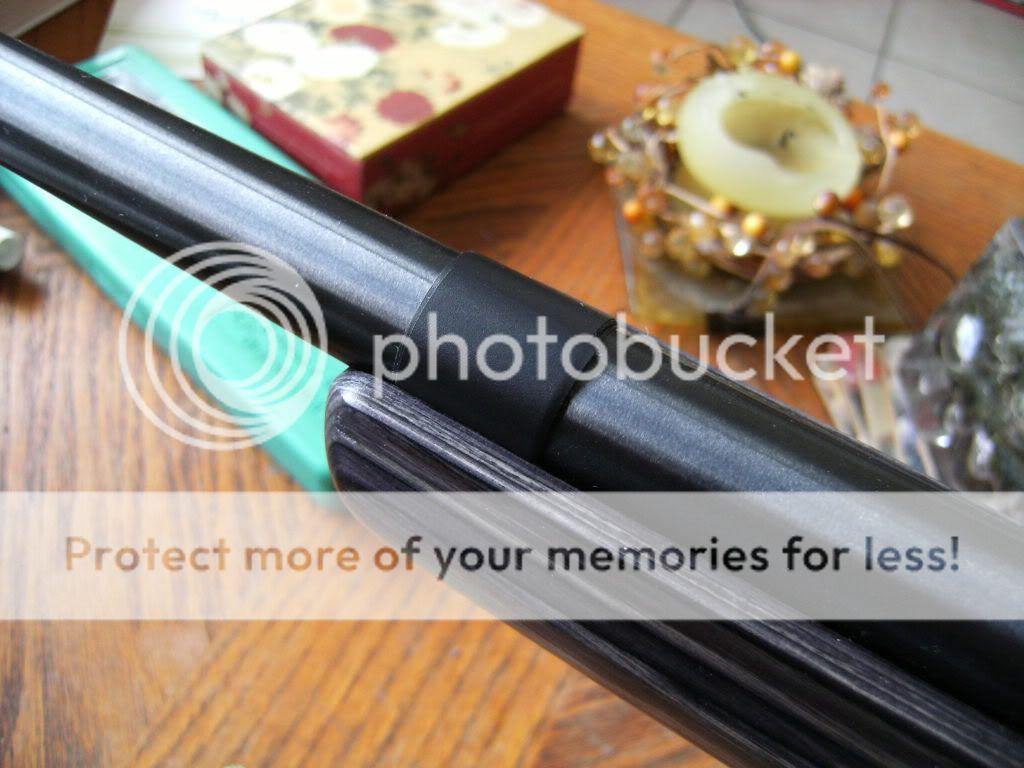
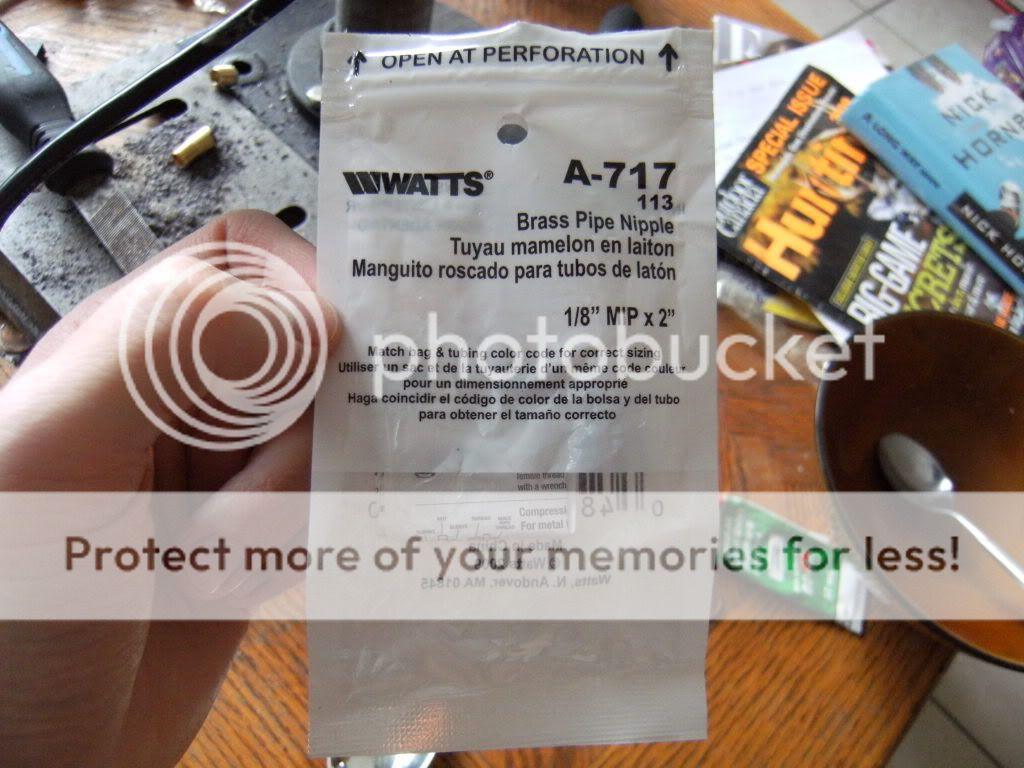
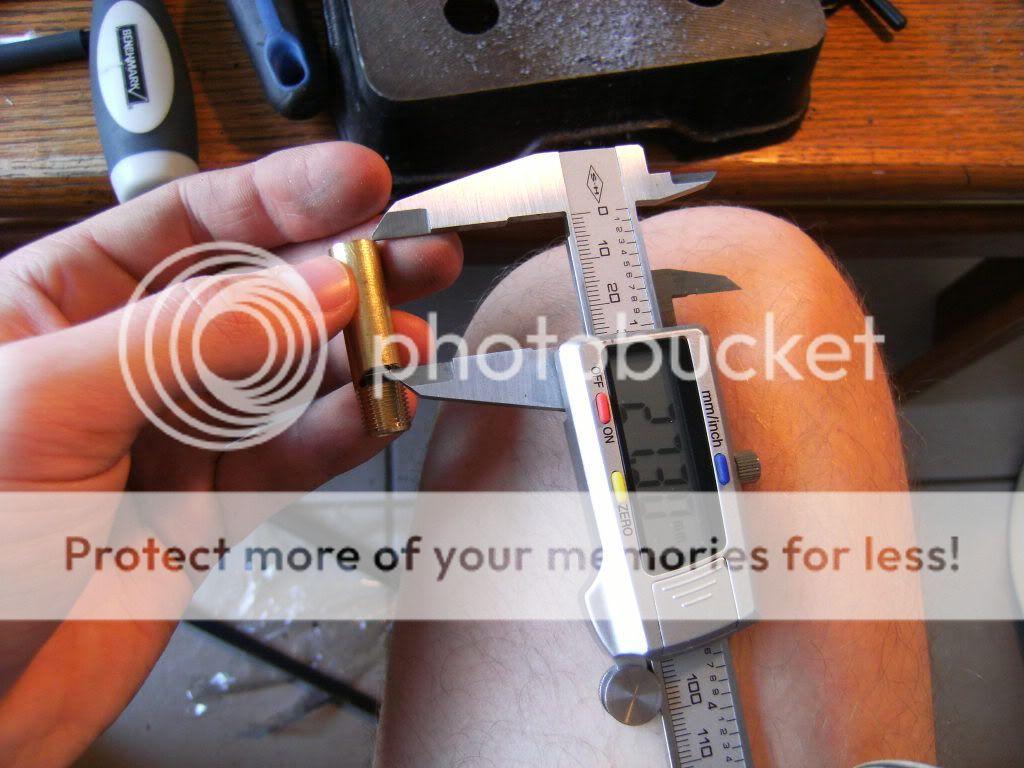
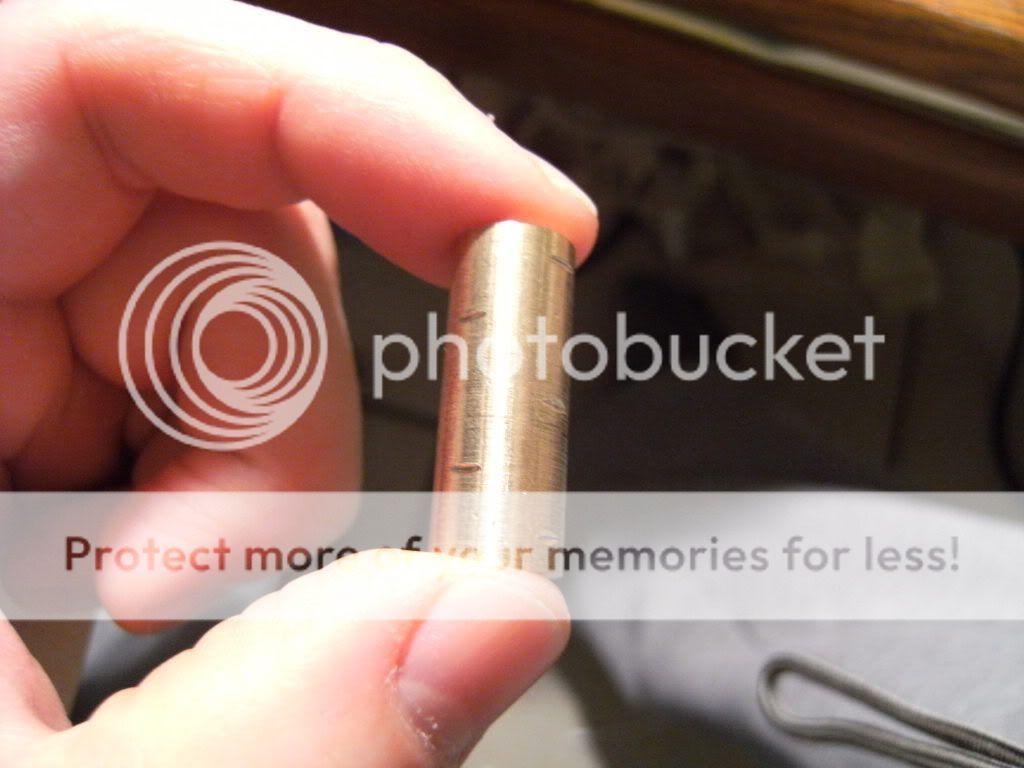
The pillars I used were cunningly disguised as brass pipe nipples at the local hardware center! (Rona). At just over $2 each it made a cheap alternative to having them sent from the states.
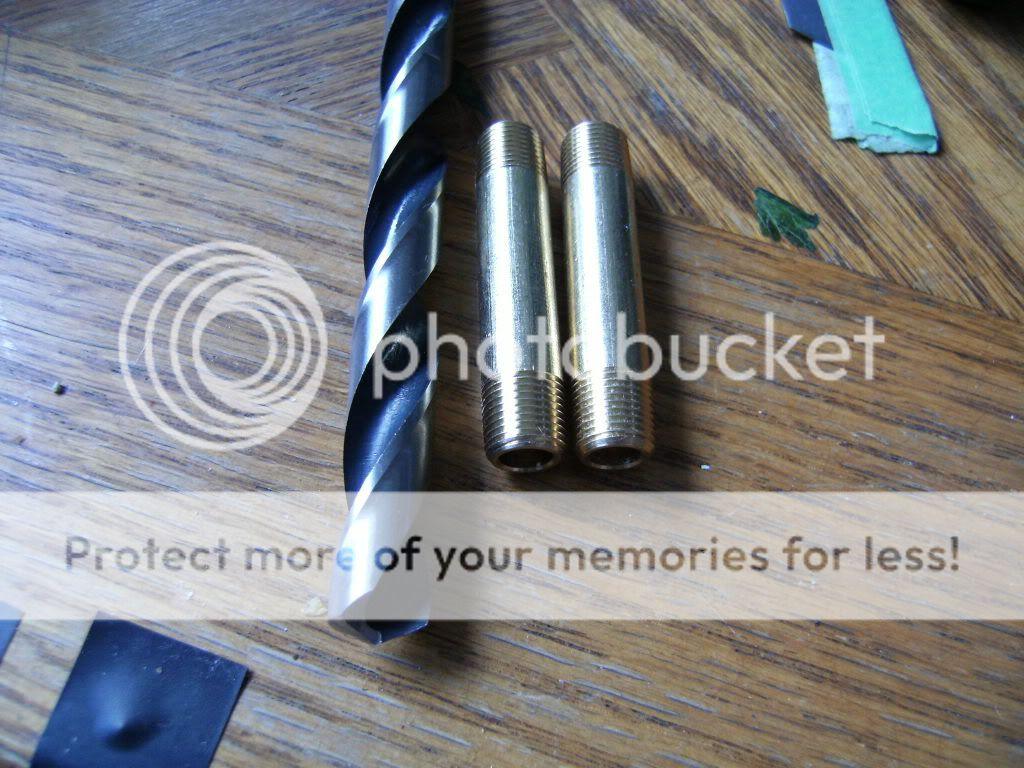
Here they are next to the slightly oversized drill bit.
I cut them to size by offering up a hack saw blade to them as they spun in the chuck (no I didn't saw them Ryan!)

After…
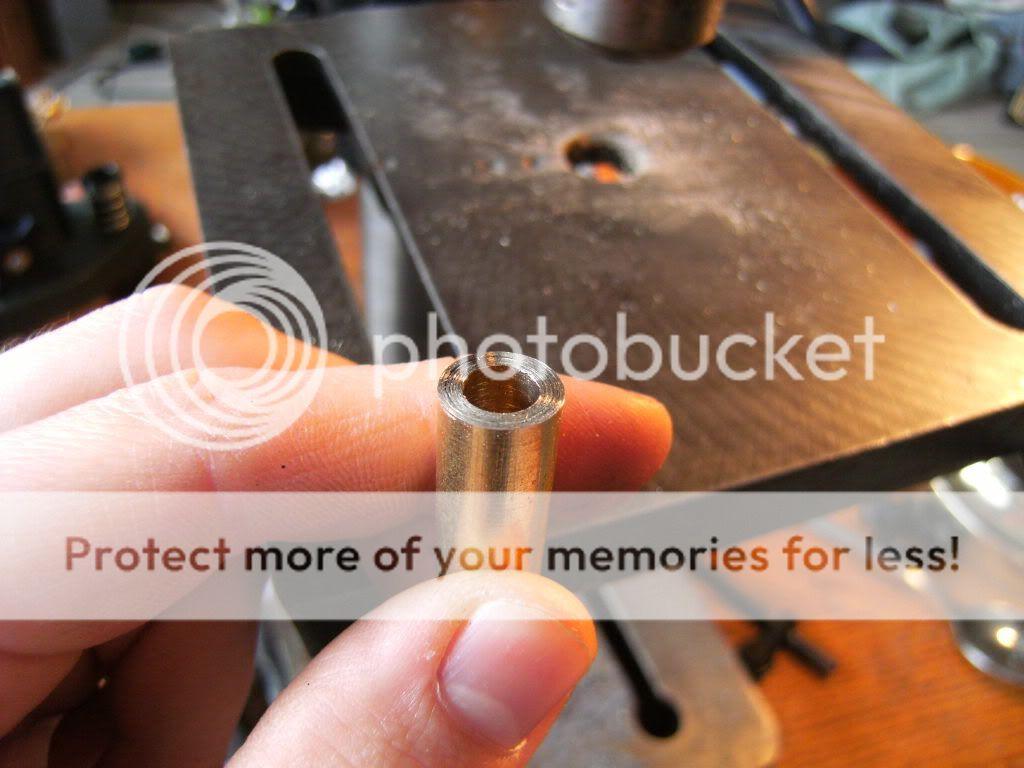
I then kissed them against a flat file in the press and finally some fine grit sand paper on a block of hard wood.

Measuring where to cut.
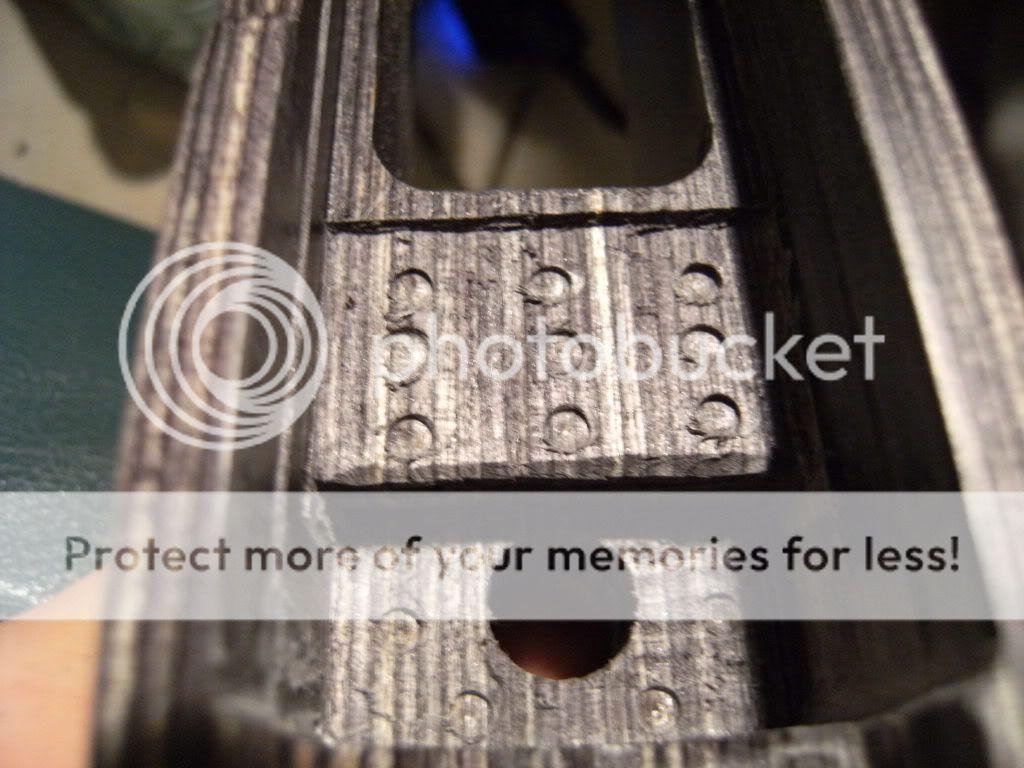
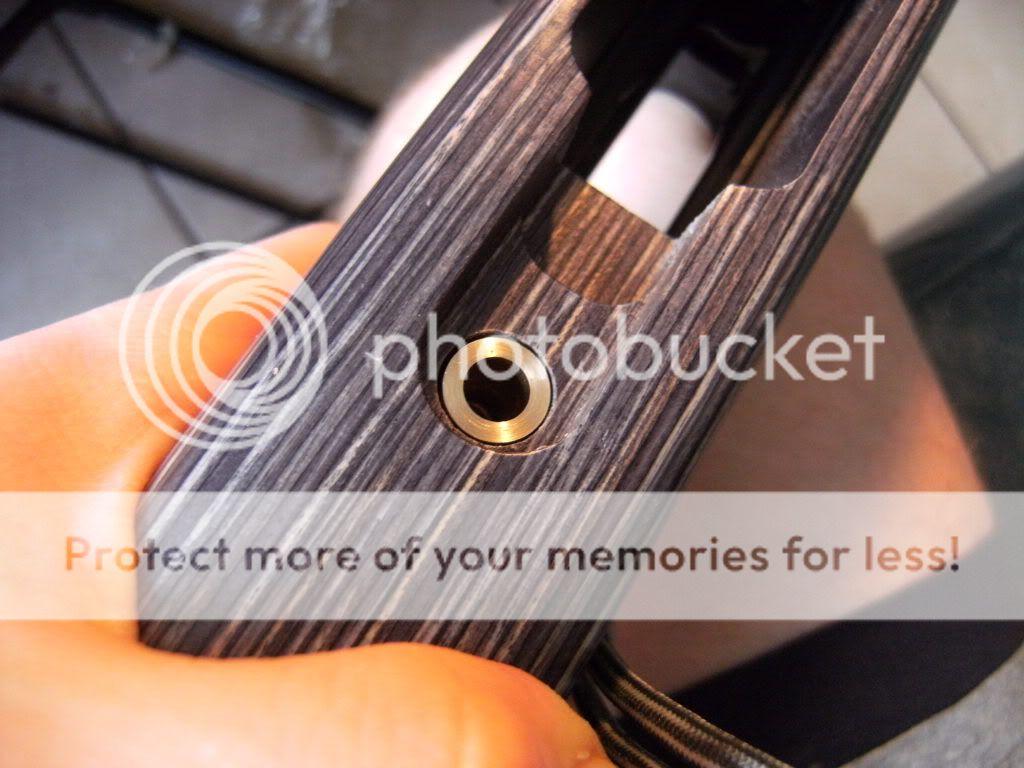
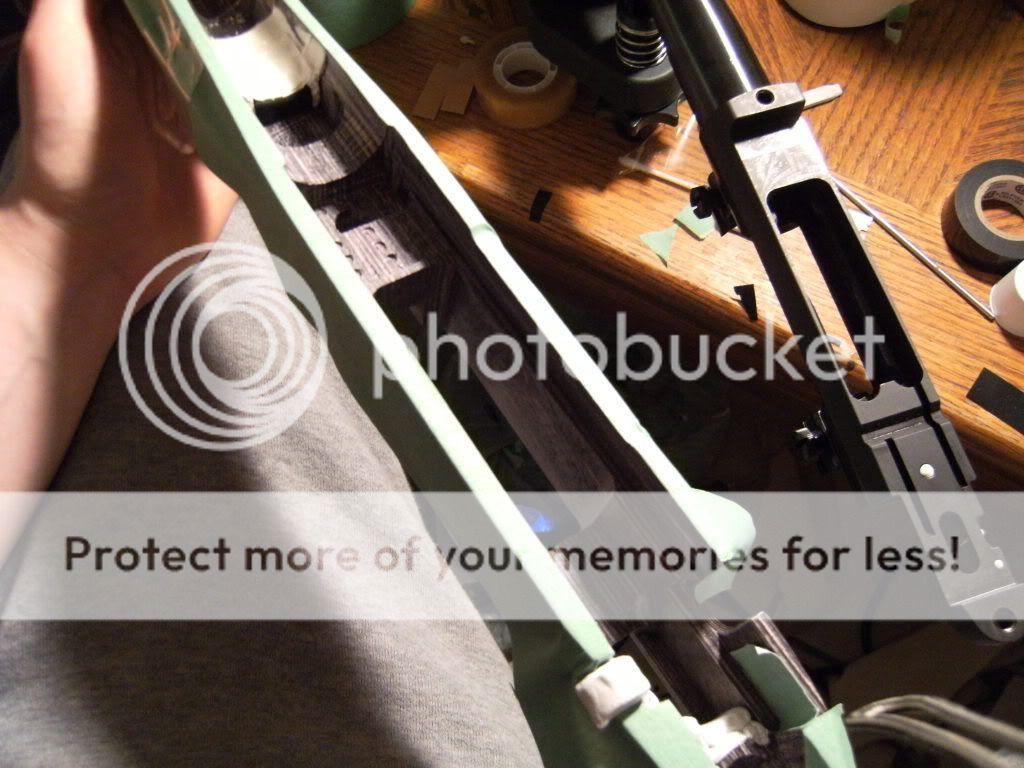
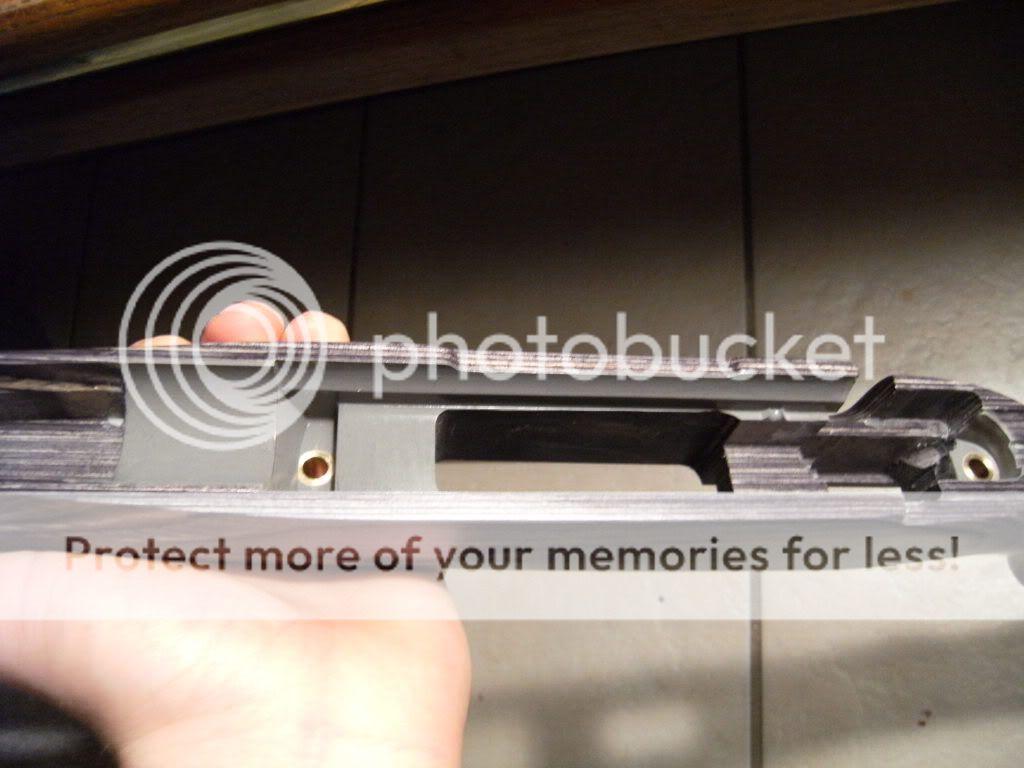
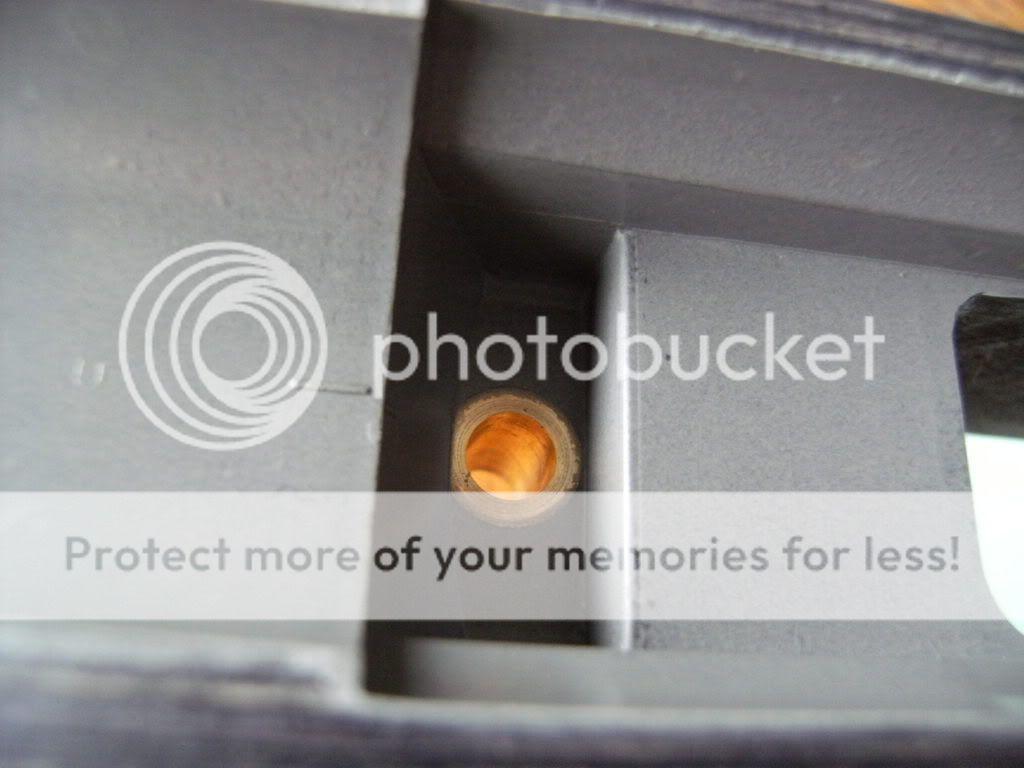
What they will look like inside the stock.

You can see slight clearance around the pillars for compound thickness and to prevent the stock imparting any stress to the pillars and screws.
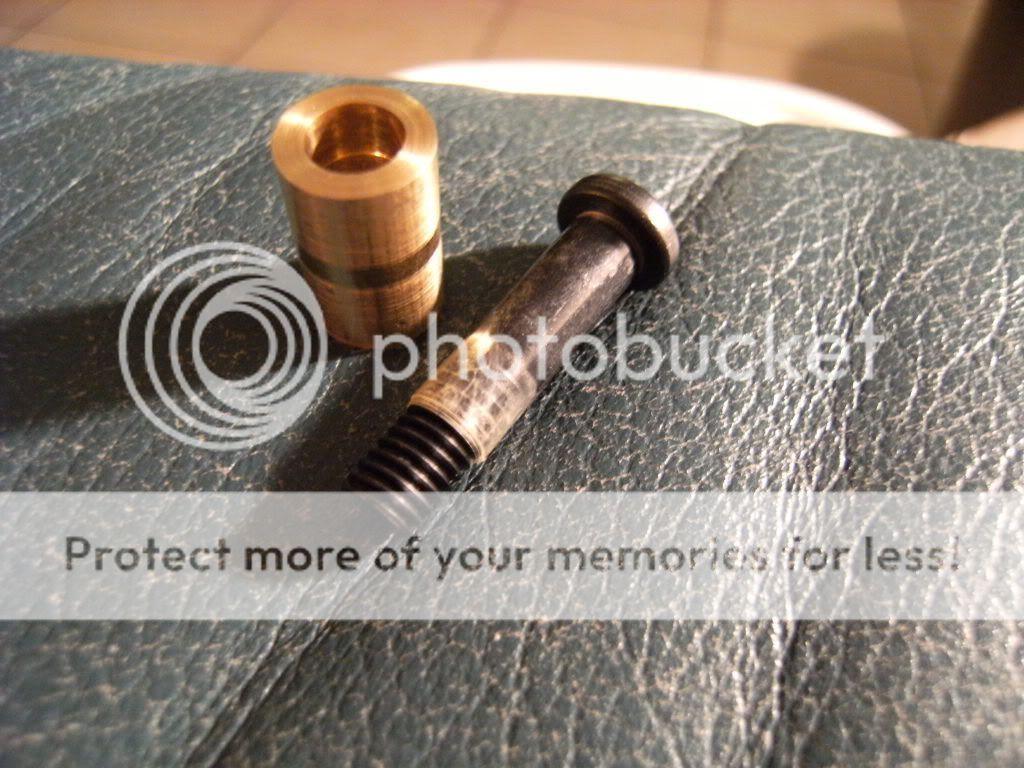
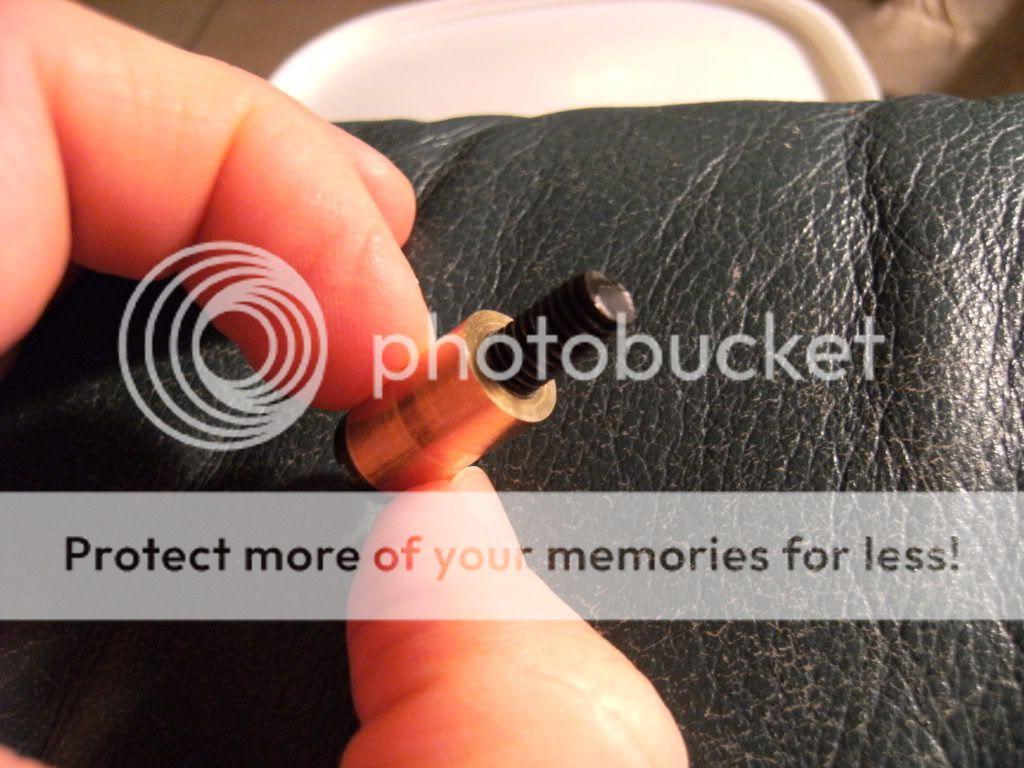
I'm centering the screws in the pillars here using very thin clear tape. Ideally the screws shouldn't be touching the pillars when screwed into the action preventing the screws from having anything to do with absorbing recoil. Stress free screws!
Allow enough tape build up so the pillars fit on tight, then trim the excess with a craft knife.
Now, moving on the action…..
Here I'm taping the vertical sides of the action to allow ease of removal in the future, it seems the forging process has imparted a slight dimpled texture to this part and each tiny imperfection will lead to mechanical lock. I didn't show it in the pic but I continued the cut line of the tape to allow the sides of the recoil lug to fit snug in the action.

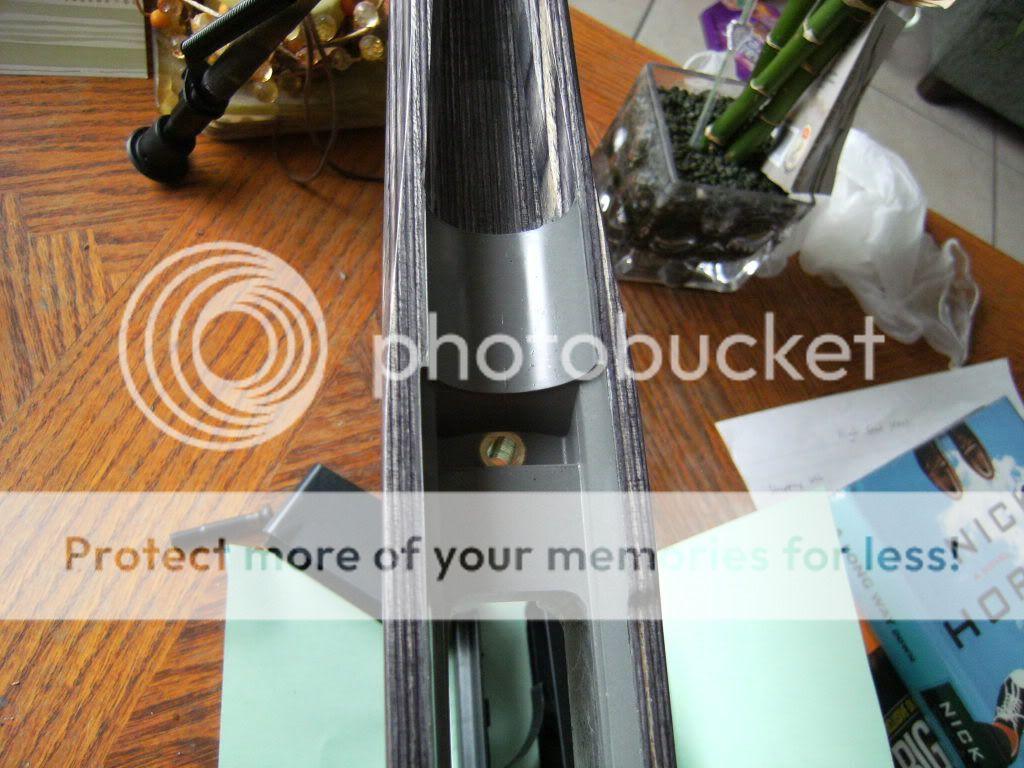
I'm building up a dam here to stop the compound from going further up the channel. The dam stops as the barrel tapers into it's 'sporter' contour.
Taping the sides of the stock, it'd be rude not to.
As well as using coarse sand paper on the side of the pillar I have cut small ridges into the pillar for extra mechanical lock. It is my opinion that most ready made pillars have too much material removed from them in order to achieve mechanical lock, this reduces the compression strength of the pillar, I'd much rather have just enough material removed from the pillar without compromising strength.
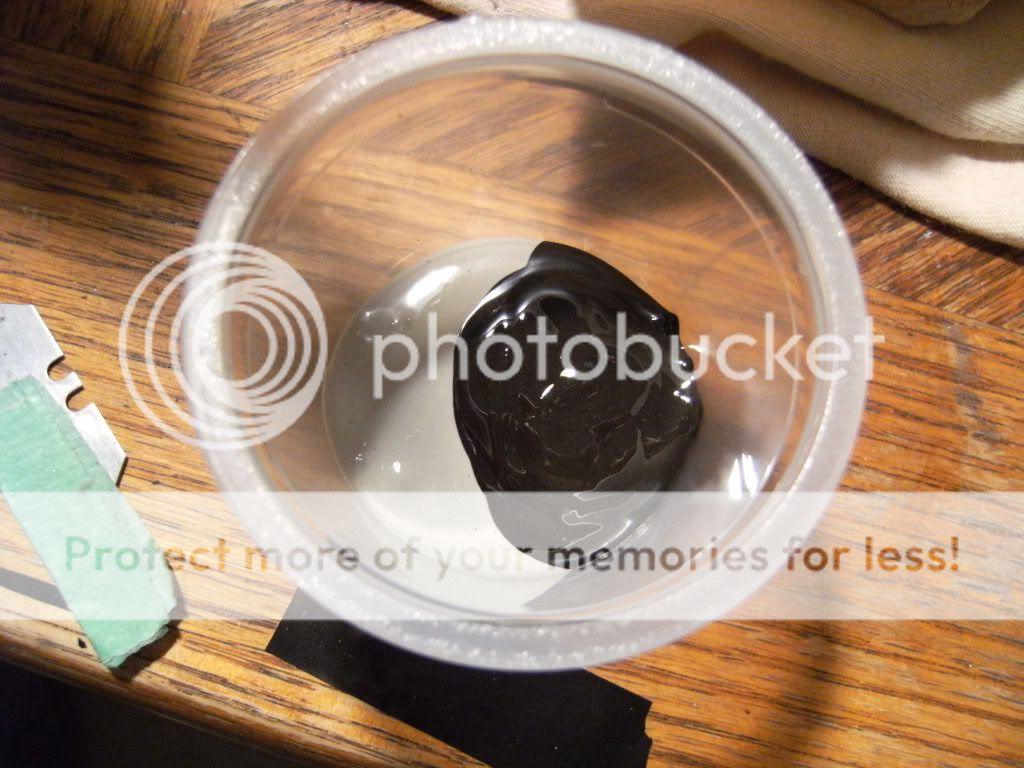
The compound I have chosen is JB Weld, a lot of people don't use it because they believe something this readily available can't be as good as Devcon, Marine Tex, Steel Bed etc. if you look at the differences between them regarding strength and shrinkage, they are all practically the same. The pros tend not to use JB Weld mainly because it only comes in small amounts making it the least cost effective if you bed rifles as part of your living.
Something that I wanted to try was to apply the compound straight onto the action after applying the release agent (Kiwi shoe polish buffed to a mirror shine), that way I could avoid unsightly voids in the compound from air bubbles.
Of course I add compound to the stock too!
After pressing the action home, clean up involves using q-tips and acetone.

Once cleaned up, I tape the stock and action with electrical tape over the rear scope ring. At this point the only part of the barreled action contacting the stock is the tape at the tip of the forend and a small amount of material left in the tang area to allow the action to index in the stock to the correct depth. I intentionally don't tape the front part of the action or barrel because this will allow the whole thing to bow slightly inducing a small amount of stress – something we want to avoid.
After popping out the action (it was really easy, nothing but Kiwi polish from now on!), I cleaned the edges with a craft knife.
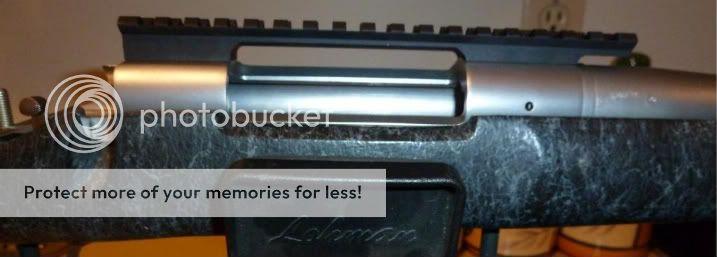
Here it is all together…
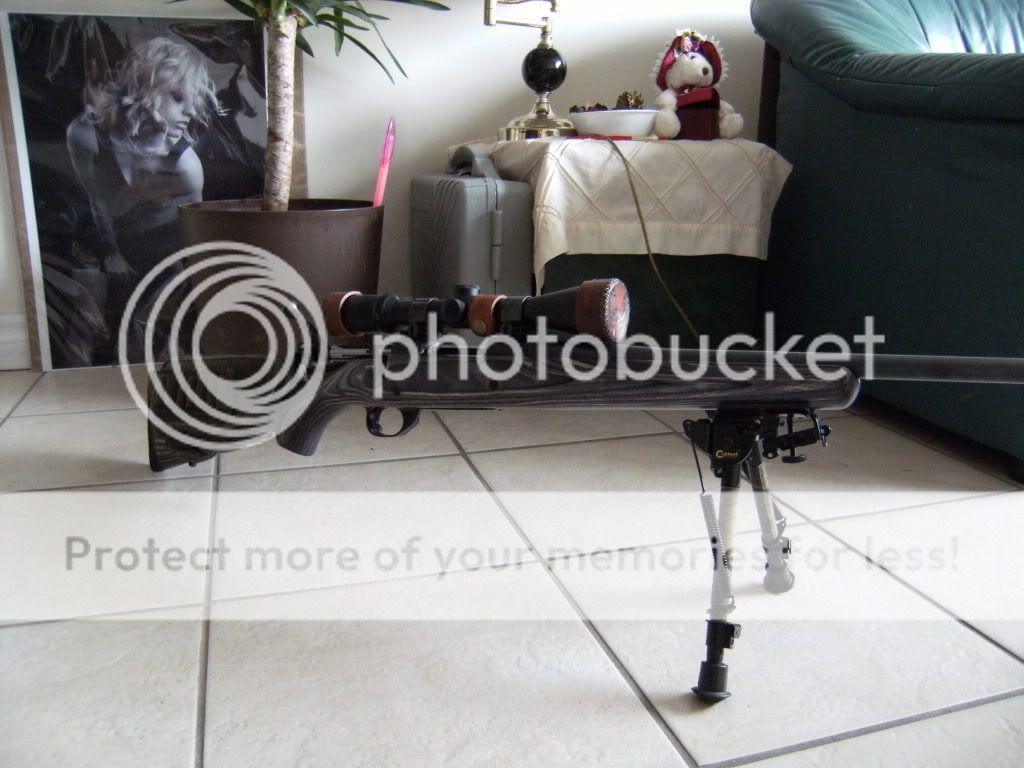
I think it went really well, I have done bedding jobs before and every time I do one I learn something new each time. This time I believe I got it almost perfect and I'm happy with the end product. I have since bedded the scope rings to the scope (I can post pics if anyone is interested) and tuned the trigger for less weight and zero creep.
Soon I will post results from the range and we'll find out if it shoots any better.
Thanks.
Phil
Last edited:
")