I am in the process of fitting a remington model 7 action into a fibreglass stock. The plan is (was) to pillar bed it and then glass bed/free float.
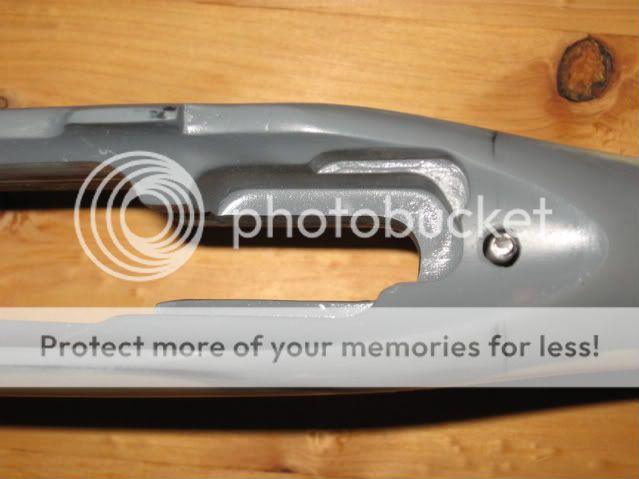
I got a hold of a piece of 7075 T6 alloy for friend to turn up some pillars. The trouble with a remington model 7 is that the rear action screw is only 4.04 mm diameter. Also, the there is only a very small distance between the rear hole in the stock and the trigger well. The first step was to drill the rear hole in the stock (currently about 5mm in diameter, still binding very slightly when I fit the trigger guard and action and tweak up the screw). I don't know if there is enough meat in the stock to take a pillar.
My understanding is that ideally there should be some play between the screw and the pillar so that when assembled the screw does not touch the pillar. If I made the hole through the pillar 6mm and then the total diameter of the pillar 10mm I might just get away with it. But with such a narrow wall diameter in the pillar would it gall when I torqued up the action screw? (I had thought of using stainless for the rear pillar). I was planning to make the pillars flat-topped as opposed to curved to fit the action
Apparently the stock has carbon through the areas where the screws run so I can probably get away with out pillars, or just build a pillar for the front screw (which is norrnal diameter, and no issues with the stock) . How should I proceed from here?
Last edited: