kiwi3006
Well-Known Member
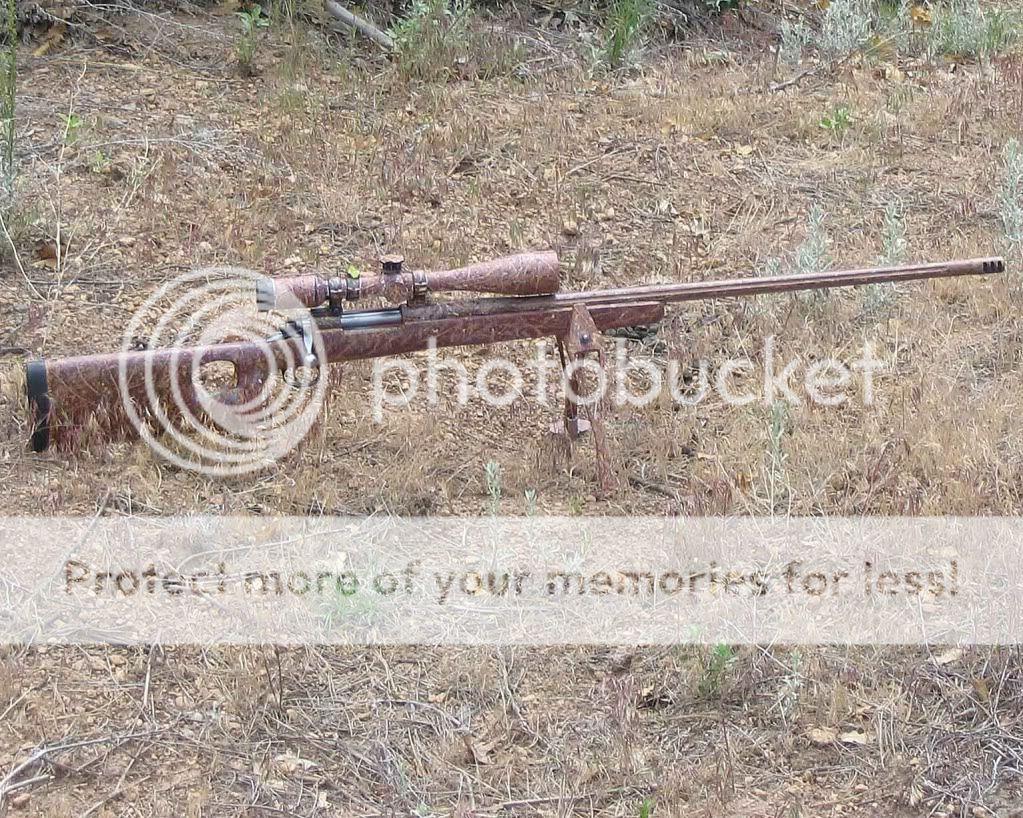
A while back I had my Rem700 30/06 rebarreled to 7mm rem mag. The only thing I didn't do was replace the factory plastic stock. Down here in New Zealand a fibreglass stock runs from $550 for a High Tech to $1200 for a McMillan Edge. I couldn't afford these so I decided to make my own.
I bought 4L of West Systems 105 resin and 206 hardner some Collodial Silica and 403 filler, 10 metres of 6oz both cloth and went for it.
I used an old wooden rem bdl long action as the pattern, filled up the holes with clay and used a real estate sign as the parting board and made a two piece mold from it. I used 4 coats of release wax and hair spray, it worked a treat!
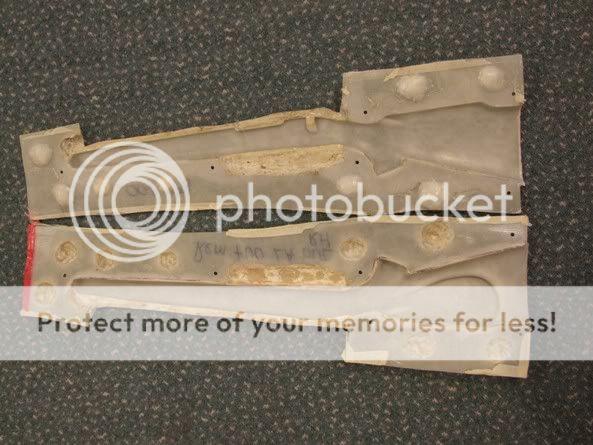
8 layers of 6oz cloth later I had my 2 part mold finished.
The I layed up 6 layers of 6oz cloth inside the mold and about 9 layers through the pistol grip. The next day I trimmed up the edges and bolted the molds together and stuck the two halfs together with 3 layers of 6oz cloth.
I had already used silicon sealer to make a two part cast of the action area. I put the silicon cast in the action area and filled the area with resin mixed with 403 filler. The but was filled with expanding polyurethane foam. The last 2cm of the but were 6oz cloth and resin so I could screw and glue the recoil pad on.
The forearm was filled with polystyrene and overlaid with 6 oz cloth and resin.
Finally I painted it with a rubberised non-slip heavy duty paint. The finished stock weighs 825 gm/29oz.
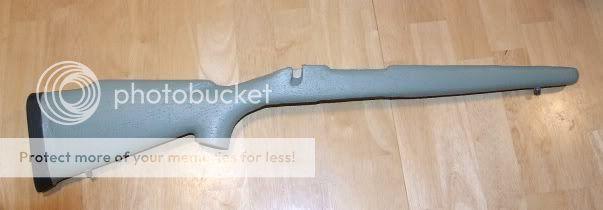
Finished stock
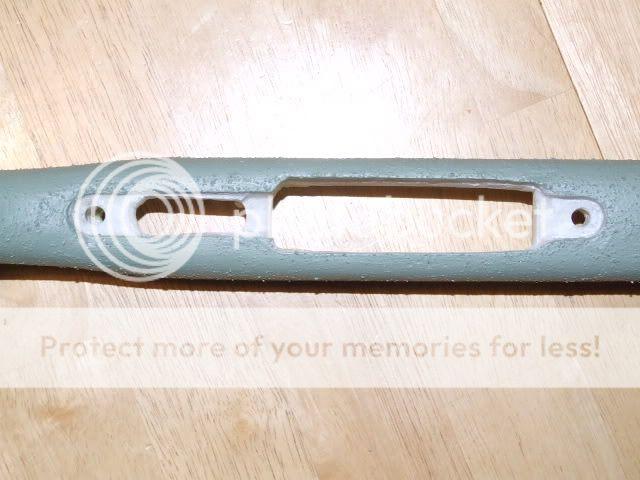
Magazine cutout
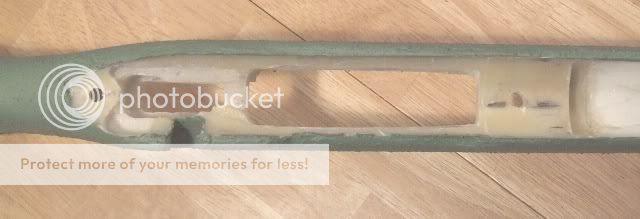
Action area.
First shots with the new stock grouped to the same point of impact as the old stock. The first group was 1.75 MOA. I shot much better on the second group and managed 0.4 MOA at 100 yds.

Second group at 100 yds
All in all it has worked out well, and I still have enough material to make 2 more stocks at least.
Stu.
I bought 4L of West Systems 105 resin and 206 hardner some Collodial Silica and 403 filler, 10 metres of 6oz both cloth and went for it.
I used an old wooden rem bdl long action as the pattern, filled up the holes with clay and used a real estate sign as the parting board and made a two piece mold from it. I used 4 coats of release wax and hair spray, it worked a treat!
8 layers of 6oz cloth later I had my 2 part mold finished.
The I layed up 6 layers of 6oz cloth inside the mold and about 9 layers through the pistol grip. The next day I trimmed up the edges and bolted the molds together and stuck the two halfs together with 3 layers of 6oz cloth.
I had already used silicon sealer to make a two part cast of the action area. I put the silicon cast in the action area and filled the area with resin mixed with 403 filler. The but was filled with expanding polyurethane foam. The last 2cm of the but were 6oz cloth and resin so I could screw and glue the recoil pad on.
The forearm was filled with polystyrene and overlaid with 6 oz cloth and resin.
Finally I painted it with a rubberised non-slip heavy duty paint. The finished stock weighs 825 gm/29oz.
Finished stock
Magazine cutout
Action area.
First shots with the new stock grouped to the same point of impact as the old stock. The first group was 1.75 MOA. I shot much better on the second group and managed 0.4 MOA at 100 yds.
Second group at 100 yds
All in all it has worked out well, and I still have enough material to make 2 more stocks at least.
Stu.
Last edited:
 .
.