Results: Load Development & Accurizing (part 4)

FullCurlHunter

Well-Known Member
Joined
Apr 5, 2006
Messages
57
Please see "Results: Load Development & Accurizing (part 1, 2 & 3)" for the complete story!

Results: Load Development & Accurizing (part 4)

81.0 gr. Target: (4 shot group)
Picture007.jpg

81.5 gr. Target: (Disregard shot 3, Flyer. YES! There are two shots touching!!)
Picture016.jpg

82.0 gr. Target:
Picture011.jpg

82.5 gr. Target:
Picture012.jpg

83.0 gr. Target:
Picture013.jpg

Now, in plotting the centers of the groups on a target we can see which consecutive charges are similar to one another to decide on a "Optimal Charge Weight".
Note that the x's indicate the center of the group with dsignated flyer's excluded from that particular charge shot group.
Picture025.jpg

Looking at these, I had great groups at 81.5 and 82.0 grains. OCW says to ignore these and find where there are consecutive charges where the center of the groups hit nearly the same place.
QUESTION: Can anyone give any suggestions looking at all this?
WHAT I DID WRONG: I should have waited for a day without 10-15 mph wind gusts but I drove 35 minutes to the range and didnt want to waste the gas. The results may have been skewed due to the wind but may at 100 yards it is not to big of deal.
ACTION: I am going to load up 4 shots of 81.5, 81.75 & 82.0 and do the same test over tomorrow as 81.5 and 82.0 grouped the best. I will do the same round robin test and report back. Hopefully I find the best possible charge weight so I can get this ready to head west!!
By the way, tomorrow's forecast is 2 mph winds and 59 degrees!!! Should be a great day for shooting I hope.
 
FullCurlHunter,

You are to be congratulated on your thoroughness.

You picked a good plan and stuck with it.

I don't see anything that you did wrong.................Except..........maybe

not sanding the pressure points completely gone.

Reason for removing: Most probably remove the fliers and bring the point of impact off of the range bag and bipod to be very much closer if not to the same point.

Replacing the pressure points is fairly easy should you really 'have' to have them.

Keep on going, you're doing super.
 
Idaho Roy,

Thanks for the message. I contemplated getting rid of the pressure point all together but I have heard that the majority of the time lightweight contours need barrel pressure. I also wanted to see how it would shoot with only the pressure points touching the barrel instead of the entire stock contacting the barrel.

The only thing I am afraid of is messing with a good thing I have going. If I get three shots touching tomorrow out of 81.5, 81.75 or 82.0 grs, I am almost scared to glass bed, sand pressure points off or change anything... What if I cannot change it back!!

I hope to have good news to report tomorrow. Stay tuned and I would still appreciate any of your thoughts!
 
FCH,

Thanks for posting! I'm new at this too. I have been working on posting something like this as well. I just don't have all my info organized. I look forward to reading your results.
 
I'm a firm believer in bedding and free floating. If you decide to put it back I would bed the action and the barrel out to the balance point without the scope. It should only be about 1 1/2 to 3" in front of the action. This will support the thin barrel. My Accumarks responded very favorably to skim bedding with particular attention to getting the recoil lug bedded 100%. It must have suppoprt under it or your point of impact will change with any change at all in action screw torque and barrel temp. I don't like the pressure points as that pushes your point of impact all over depending on how firm you hold the rifle down or use a bi-pod.

How is your trigger? With a vey little work you can get a very consistant 13-16 ounces crisp and safe. No stoning or polishing. Just adjusting and maybe a small mod to the tension screw. I use a dial indicator to get .020 of sear engagement at the tip of the trigger to get rid of the creep.

I found best accuracy with IMR-7828 and CCI-250 primers. Start at 83 grains and work up to 85 grains. OAL is 3.700" With a 26" barrel you can duplicate the factory velocity of 3300 with 180's.

For 500 yards and beyond the 200 grain Accubond at 3100fps is very respectable and gives me .4" groups. Same IMR-7828.

I love yor setup.
 
Great plan and it looks like you are in the right range.
It looks like 81.0 is the largest group, which is called a scatter group. Usually the OCW is between 1%-2% above the scatter group charge weight.
That would put you around 81.8 and 82.6 for an OCW range. Give or take a little since it is an approximation.
I also bed and free float.
 
Last edited:
i'm with Hired Gun, free float that barrel and bed that thing. only way to be consistant. the dollar bill test while the gun is in a vice is not very accurate. put the gun on the bipod and see if you still have clearance. i have at least .020 clearance on my guns.
 
Went to the range on Friday afternoon to test the 81.5, 81.7 & 82.0 loads...

60 degree day, 2-3 mph crossing winds. Great night for shooting.

Burned 3 shots and then did the same process as before with the OCW process (81.5 at target 1, 81.7 at target 2 and 82.0 at target 3. Shot 4 rounds of this. Looking back, I noticed that round 3 were all off. I was starting to rush the shots and the barrel was starting to warm up at that point. I still allowed for 5-8 minutes between shots to keep the barrel somewhat cool.

The results were very strange to me...the cord for my camera is at work so I will have to post pictures later if you guys would like to take a look at the targets. Let me know if there is any interest.

81.5 shot a .8" group (first two shots were in the exact same hole, couldnt even tell that two shots went through the same hole by the burn marks on the paper!) Good group but what I found strange was that it hitting 2" lower than the other day. The gund was cleaned before starting but nothing else was changed, except for wind. Can wind cause differences in vertical grouping?

81.7 was all over the place which I found strange given the great groups that 81.5 and 82.0 displayed previously. I was certain that 81.7 was going to be the load...it wasnt.

82.0 shot 5 shots in a .6" group!! (I believe that this is the optimal charge for this rifle) This group was right on top of the 82.0 group from the other day. The centers of each group were about .5" off. I wonder why the 81.5 gr group's POI was so different and the 82.0 groups were very similar??

I believe I am going to stick with 82.0 grains as this has constently grouped well with these two days. I think I will do some further testing this winter with 81.5 again as this put 2 shots in the same hole on two different occurences... I think some more test groups would be a good tell along with the 82.0. It is getting very close to the season and I need to load up 82.0 and get those sighted in and figure out POI at further distances.

Now, a lot of you recommended bedding and taking the pressure point out. I have a few questions that hopefully some of you can help me with.

1. If I sand out the pressure point, will 82.0 still be the best group or will that throw everything off again due to barrel harmonics and I will need to do all of this over again...?

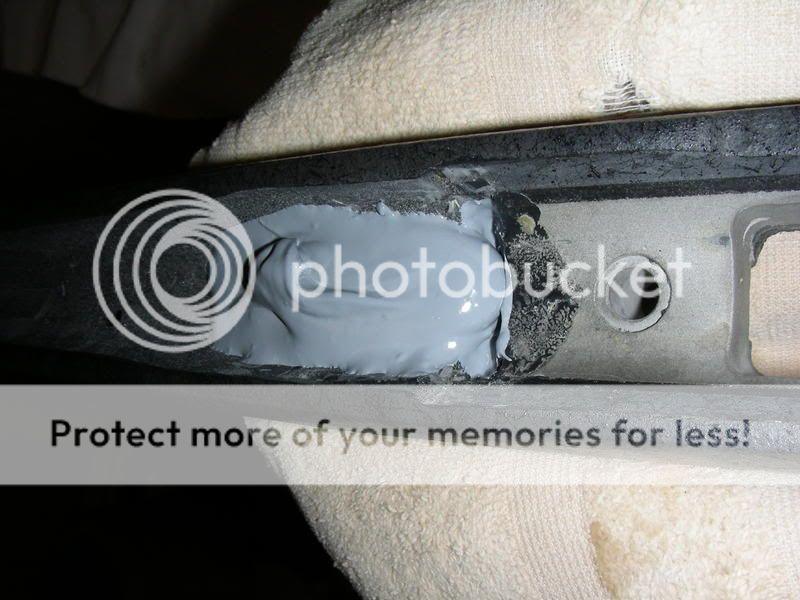
2. How do I go about glass bedding this stock. I am certain it is a Bell & Carlson with a aluminum bedding block. Do I need to pillar bed this as well? I have done some researching on glass bedding and most say it can only help accuracy so I figure why not try it. Any advice for glass/pillar bedding this stock and weatherby mk v action? Here is a picture of the stock inlet.

WeatherbyUltraLightStock.jpg

Picture021-1.jpg

Picture023-1.jpg

Picture026-1.jpg

Picture027-1.jpg


3. If I take the pressure point out and float the barrel, should I then be able to shoot with my harris bipods?

Thanks for all of your help and suggestions!
 
The stock is allready pillar bedded being it has a full aluminum bed block. No need to redo that.

I have the same bedding chassis in all three of my Accumarks. If I had them to do over I would only bed on top of the front block and down into the recess for the recoil lug. The lug must be supported from the bottom or when you tighten the front actoin screw it will flex the front of the action down. This makes the action very tight to get into and out of the action but it can be done. I like the front of the lug bedded tight as well as this insures the lug is always tight to the rear and wont need a couple shots to settle it in. Then you will only need to tighten to 45 to 50 inch pounds. I used an 1/8" drill bit to dill a bunch of divots into the aluminum beding block for the Marine Tex to get a solid grip. Once the bedding is done then float the barrel channel. I have one bedded under the chamber area the others are fuly free floated. I can't really tell any difference in how they shoot.. Your good load should still be your good load. What are you using for an OAL. I found my 300's like 3.7"

Once the front end it floated so it can't touch with the bipod on it will group better off the pod but it may still have a different point of impact especially since this is a light weight rifle. The extra weight will change the follow through and this will change the point of impact. The Weatherby stock really rises a lot more than other stock styles.
 
Hey FCH

I recently bedded a stock similar to yours and have some pics. This is a rebarrel to 338RUM with a Brux #5 contour in a HS Precision stock.

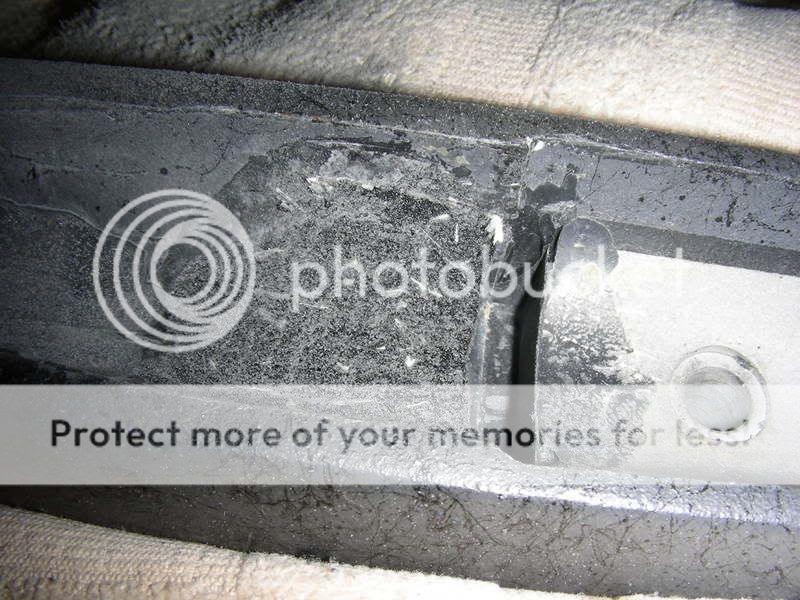
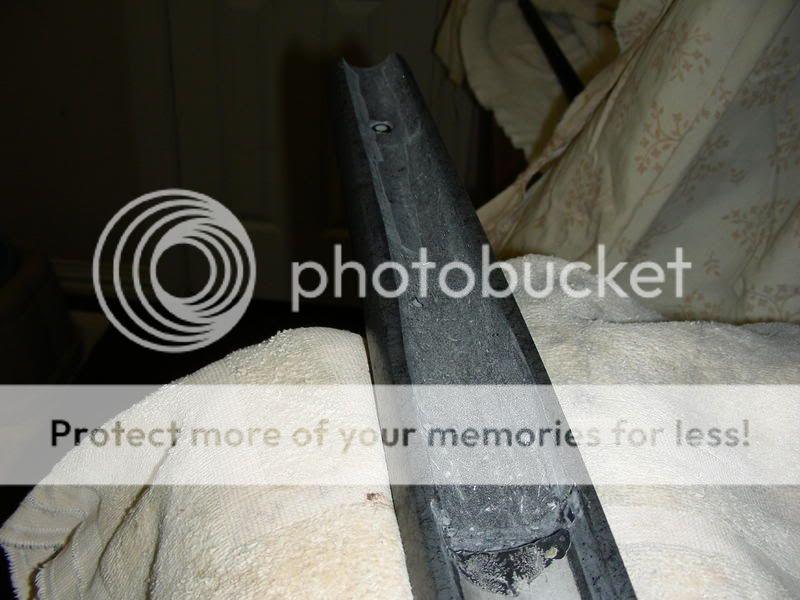
The first thing you need to do is remove the old bedding
DSCN0861.jpg

DSCN0862.jpg

DSCN0863.jpg


Then insert the barrel and action into the stock and see where it hits. Here you can see it is hitting just in front of the chamber area
DSCN0858.jpg


The best way to remove stock material IME is with a Dremel tool and a sanding wheel
DSCN0864.jpg


Keep inserting and removing the barreled action and removing the points where it hits being careful at the edges next to the barrel to keep a consistant gap
DSCN0865.jpg
 
Sooner or later you will be able to insert the barreled action and not have it touch the stock
DSCN0869.jpg


It looks like in your picture that the action screw goes directly into the recoil lug through a pillar and the recoil lug sits directly on the aluminum bedding block so you would not be able to remove stock material there. On yours I would think that when you inserted the barreled action and screwed it down then the only points of contact would be from the bottom of the recoil lug rearward.

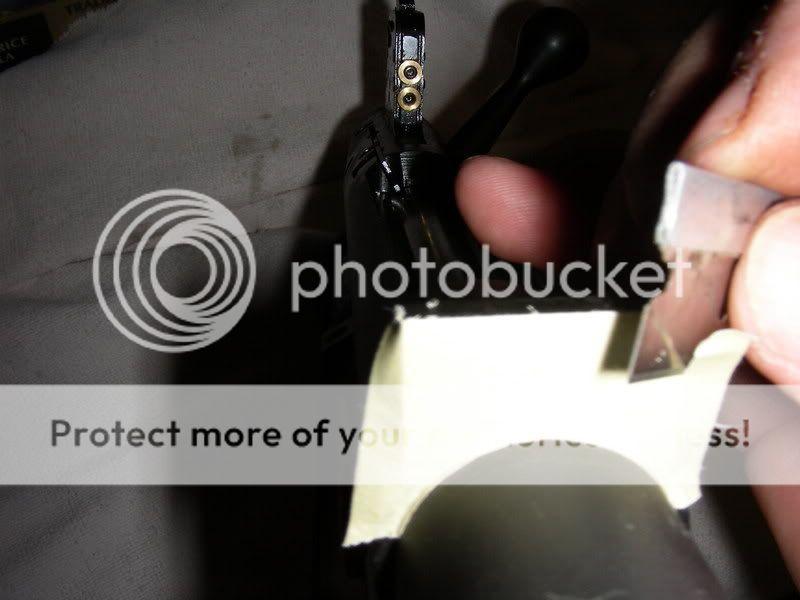
You need to leave a very small gap on the front of the recoil lug. I use 2 layers of masking tape
DSCN0871.jpg


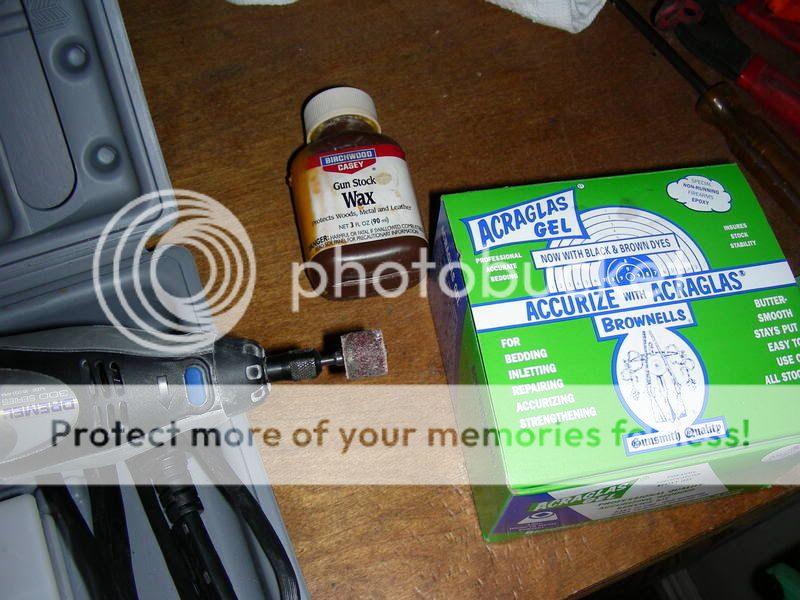
For a release agent I use Birchwood Casey Gun Stock Wax and normally I use the green box of Acraglas
DSCN0739.jpg


spread the release agent on every part of the rifle where you don't want the bedding compound to stick
DSCN0872.jpg


don't forget the action screws and the top edges of the stock! Now glop the appropriate amount in (next time I'm going back to Acraglas as it is much easier to work with)
DSCN0873.jpg


Insert the action and torque it down and wait 24 hours. I neglected to get a pic of the way it oozes out around the stock.

It is always a relief when the action releases and separates from the stock. Best way I've found it to turn the gun over and stick the handle of a screwdriver against the closed bolt and give it a rap
DSCN0876.jpg


Hope this helps.
 
Warning! This thread is more than 16 years ago old.
It's likely that no further discussion is required, in which case we recommend starting a new thread. If however you feel your response is required you can still do so.

Recent Posts

Top